Windows 11 Setup
Step 1: Download Windows 11
Download Windows 11 64 bit
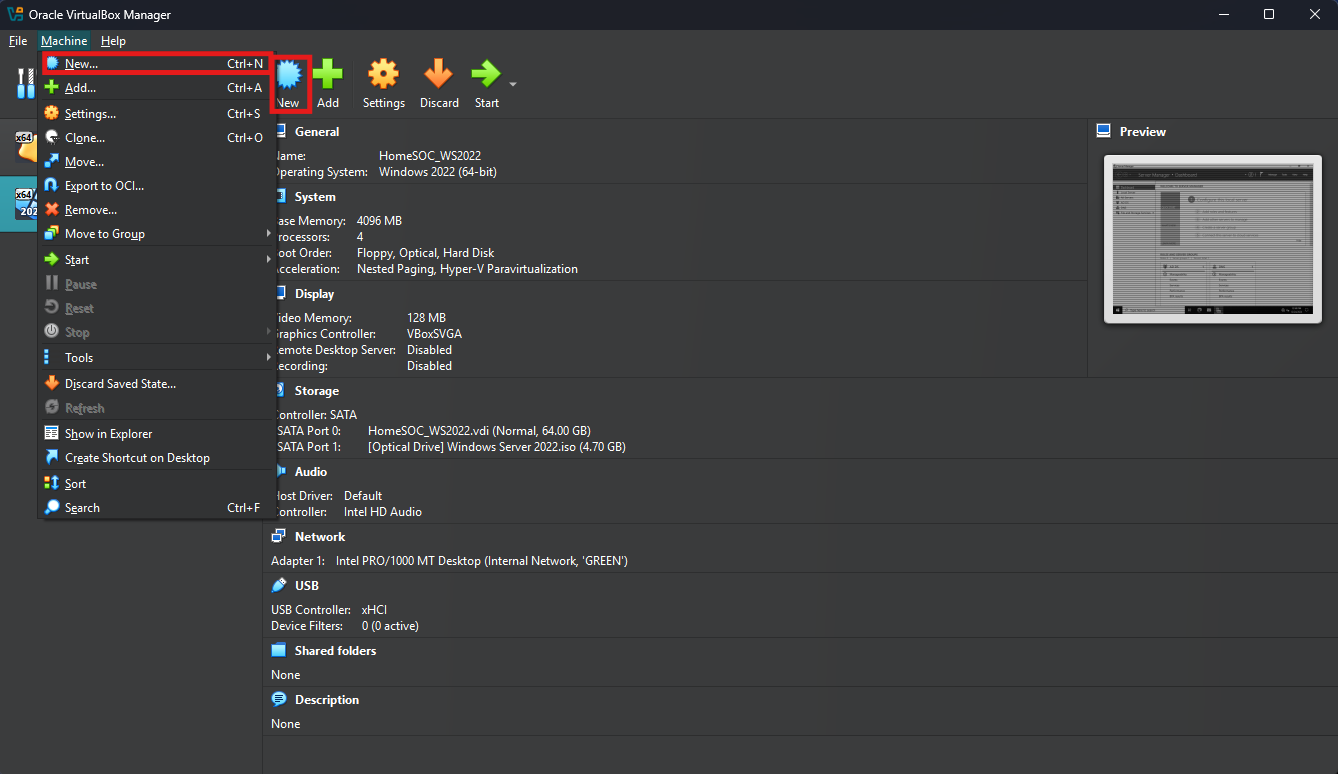
Step 2: Create new VM
Launch Oracle VBM and select “New”
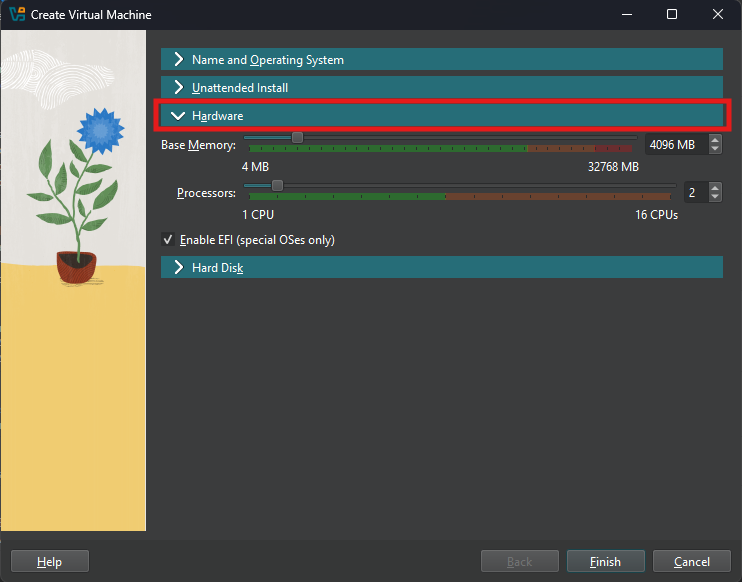
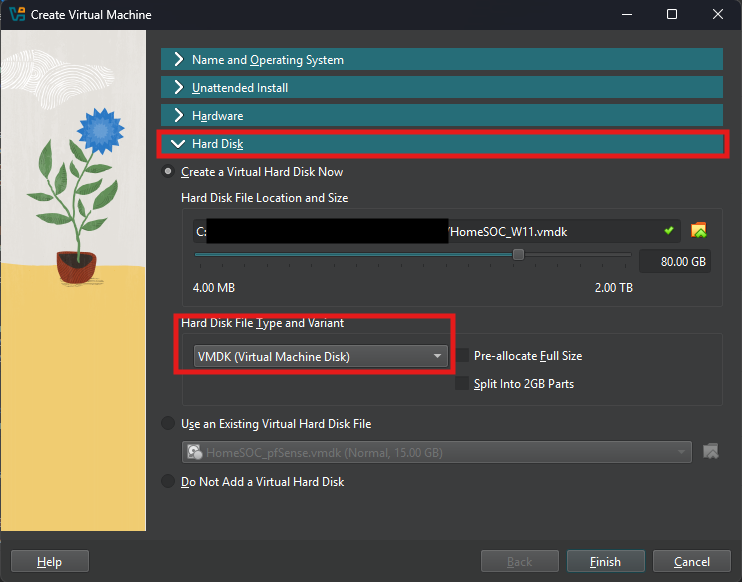
Follow along with below images on completing the VM setup
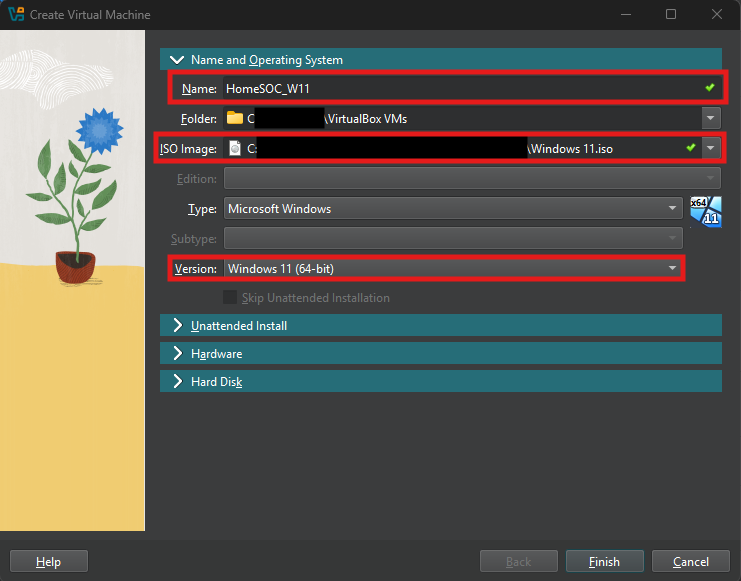
Step 3: Network Settings
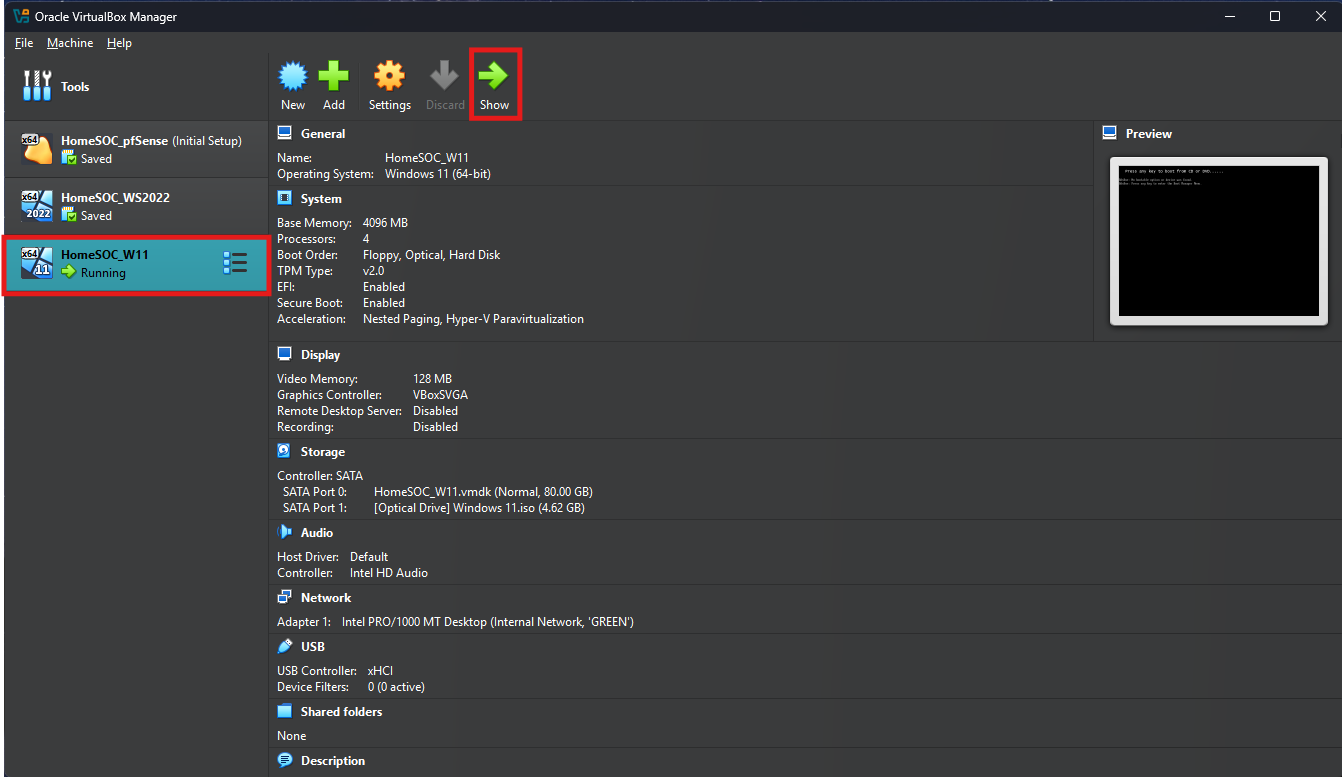
Select the Windows 11 VM’s settings and then network
In Network settings configure the following


Step 4: Installing Windows 11 on VM
Launch the Windows 11 VM
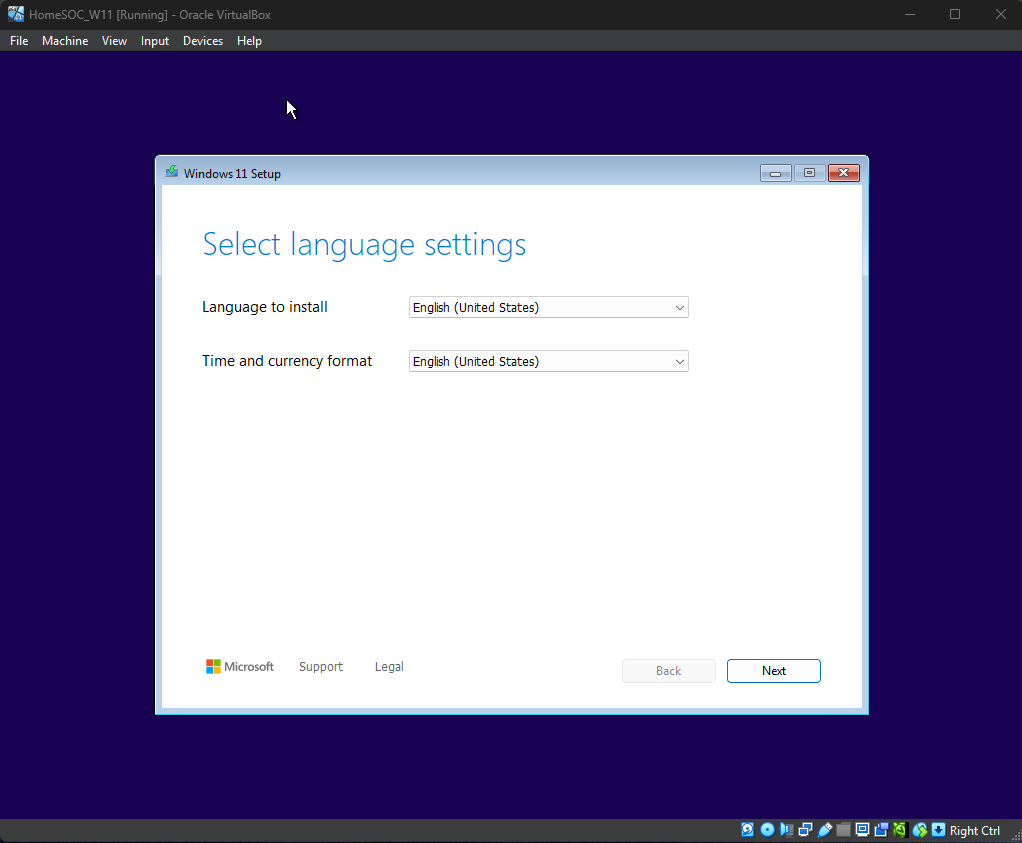
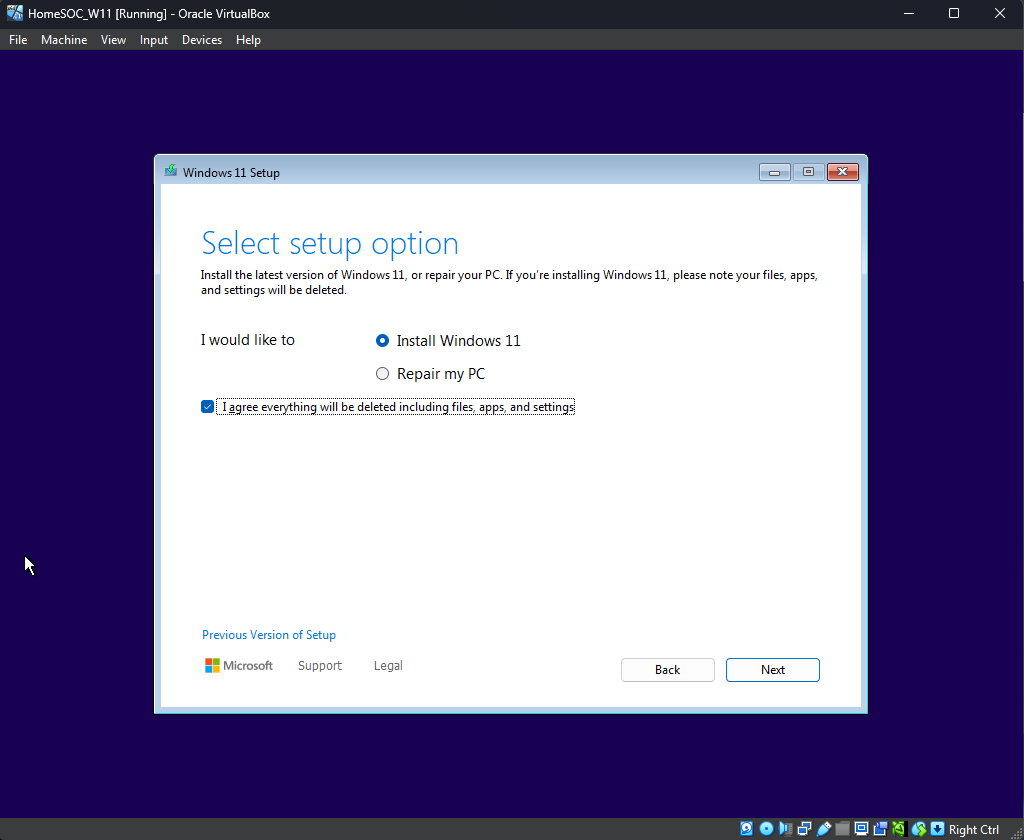
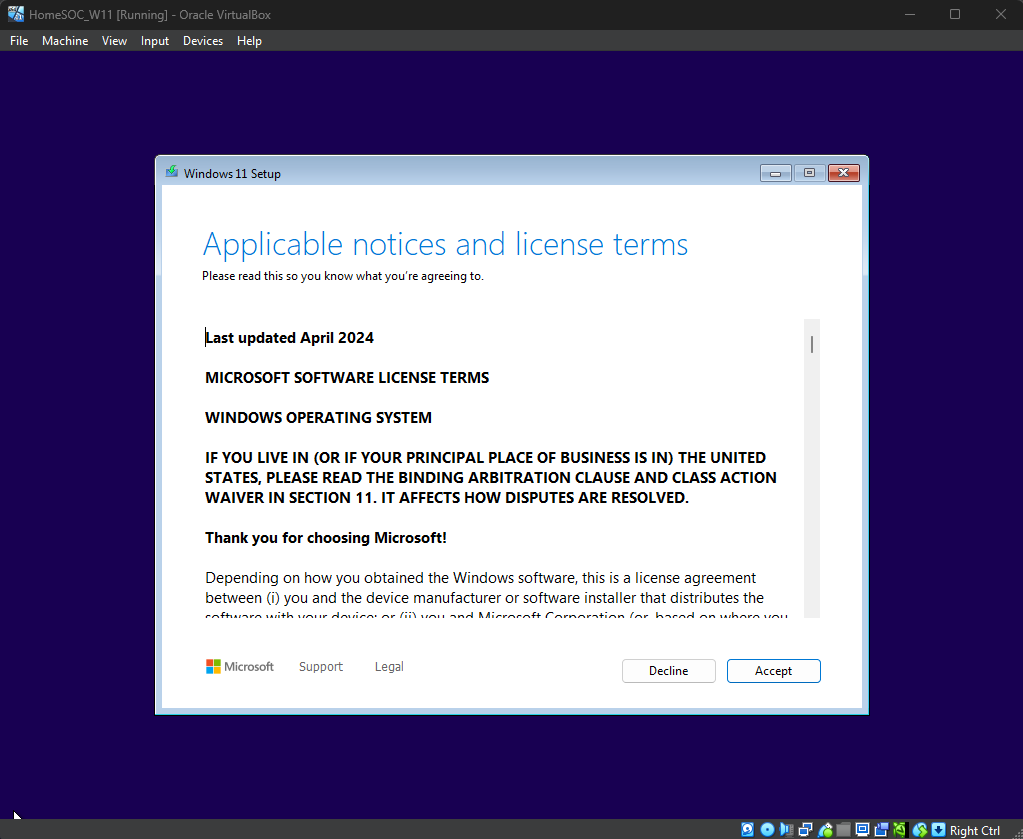
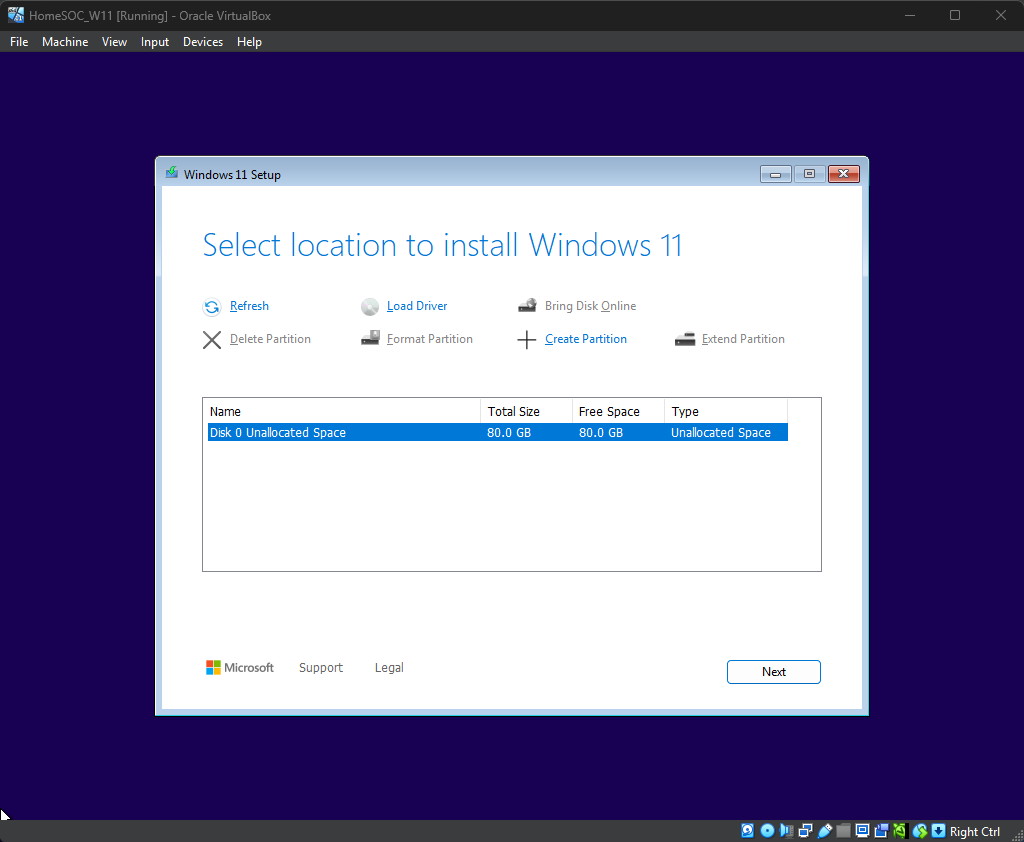
Once VM launches, follow through the Windows 11 Installation process
After Windows 11 installs, the system will reboot
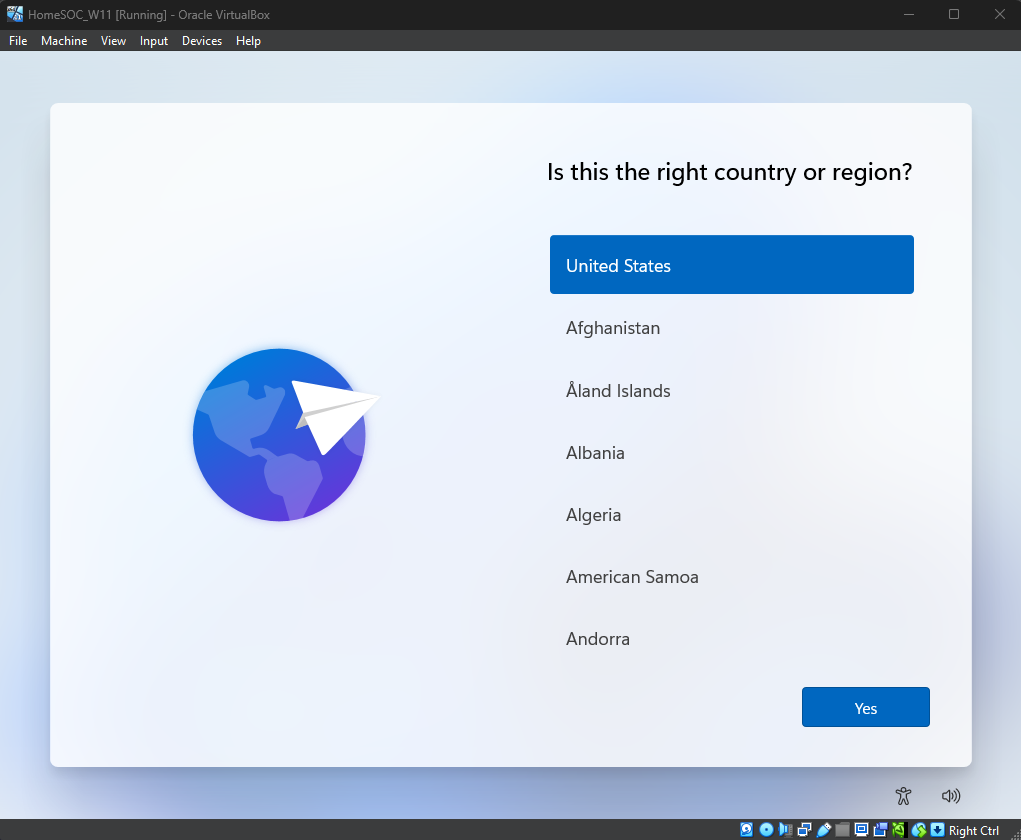
After the reboot, follow through the Windows Setup process
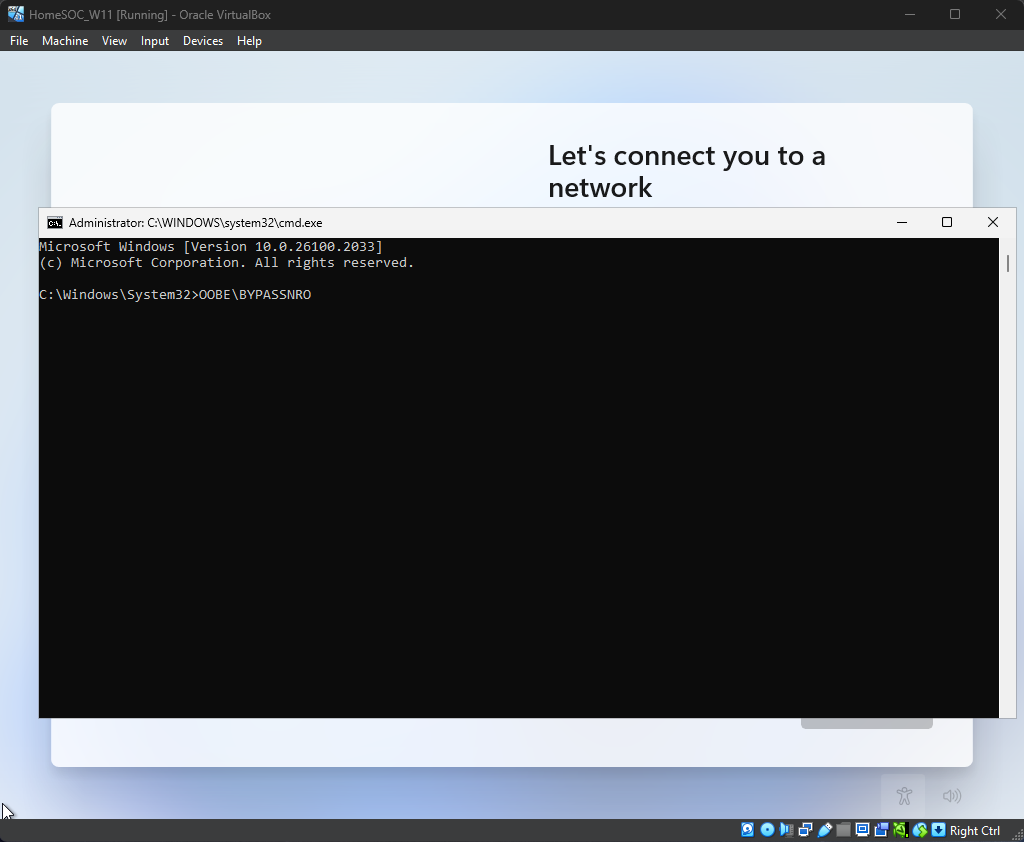
On the select country or region screen, push Shift-F10 to open Command Prompt. In Command Prompt enter OOBE\BYPASSNRO and the system will reboot (this bypasses the Network requirement and Microsoft account sign-in)
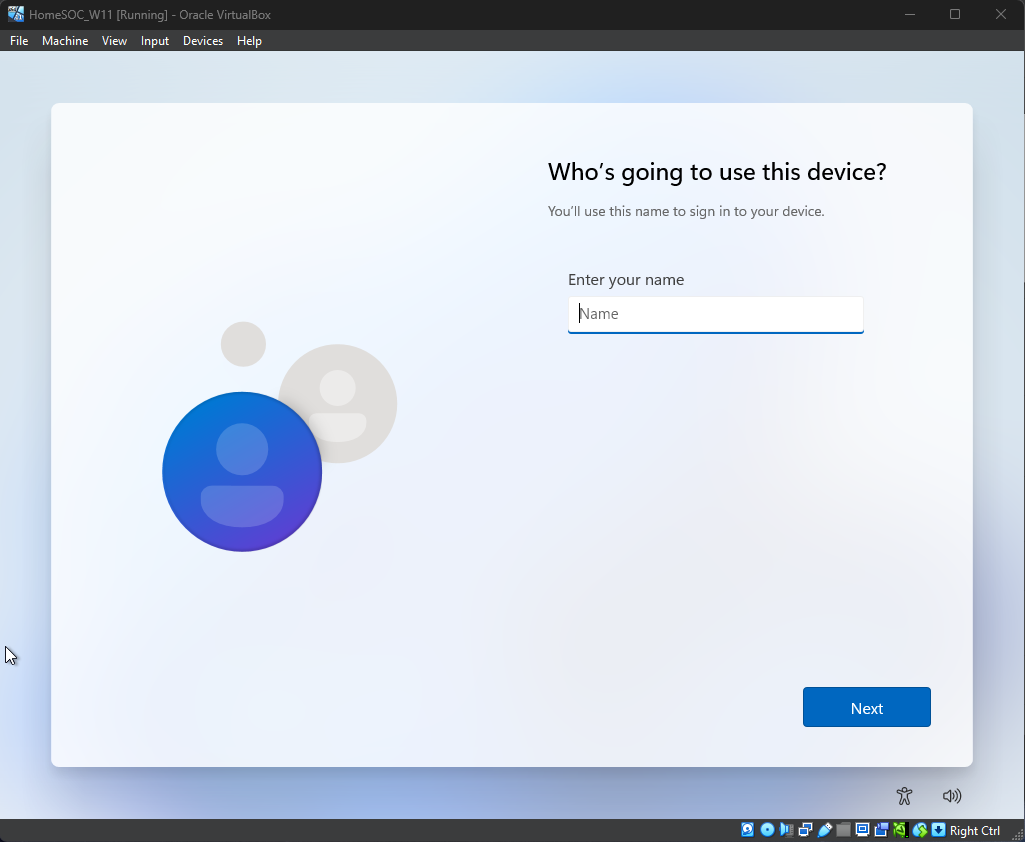
Complete the Local Account Setup


Step 5: Configuring Windows 11
Login to Windows 11
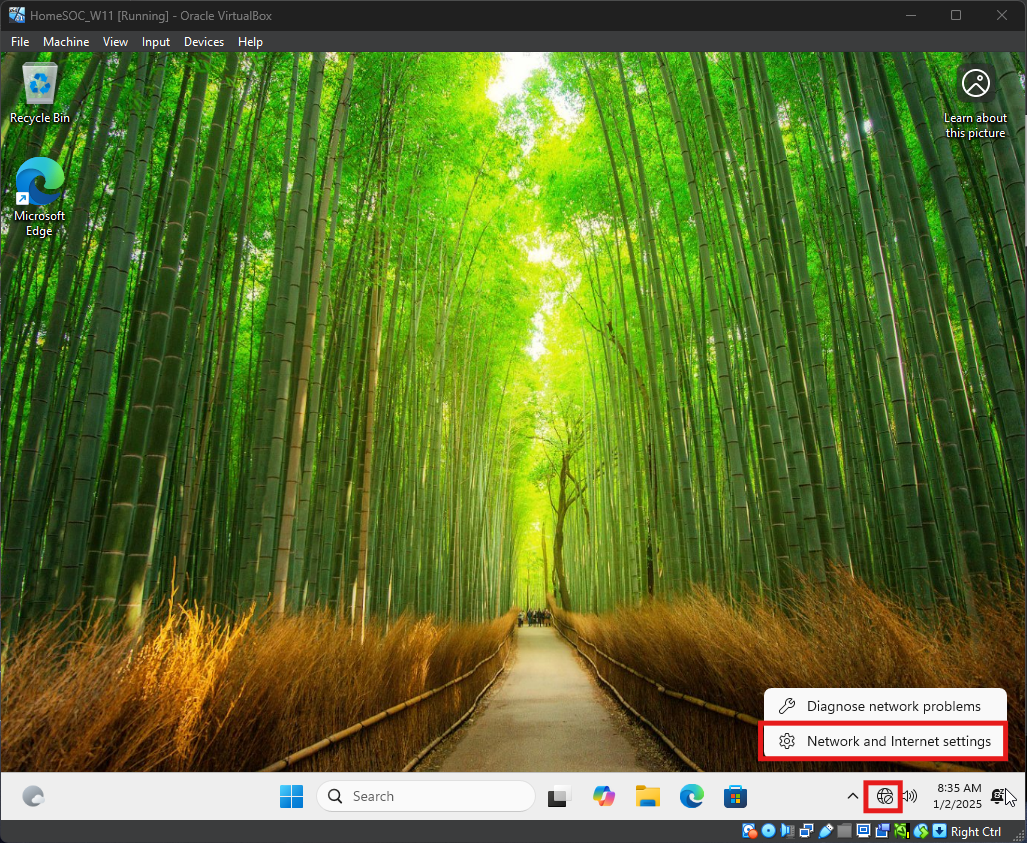
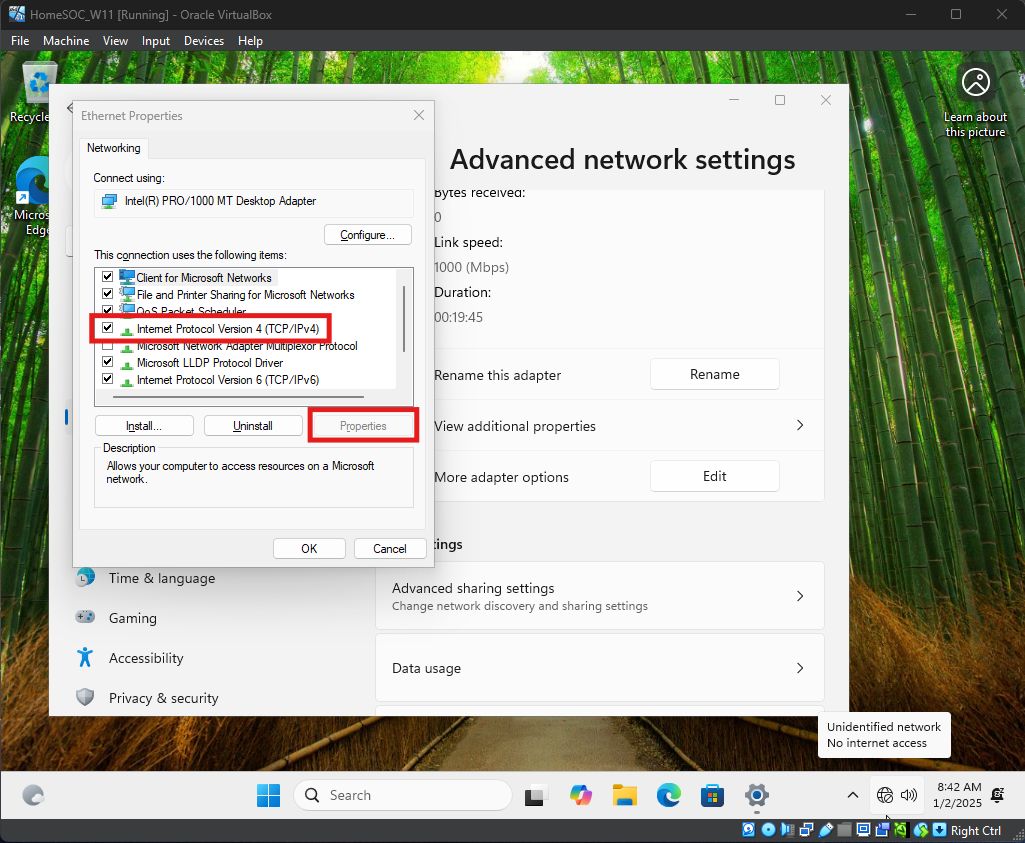
Open Network & Internet Settings
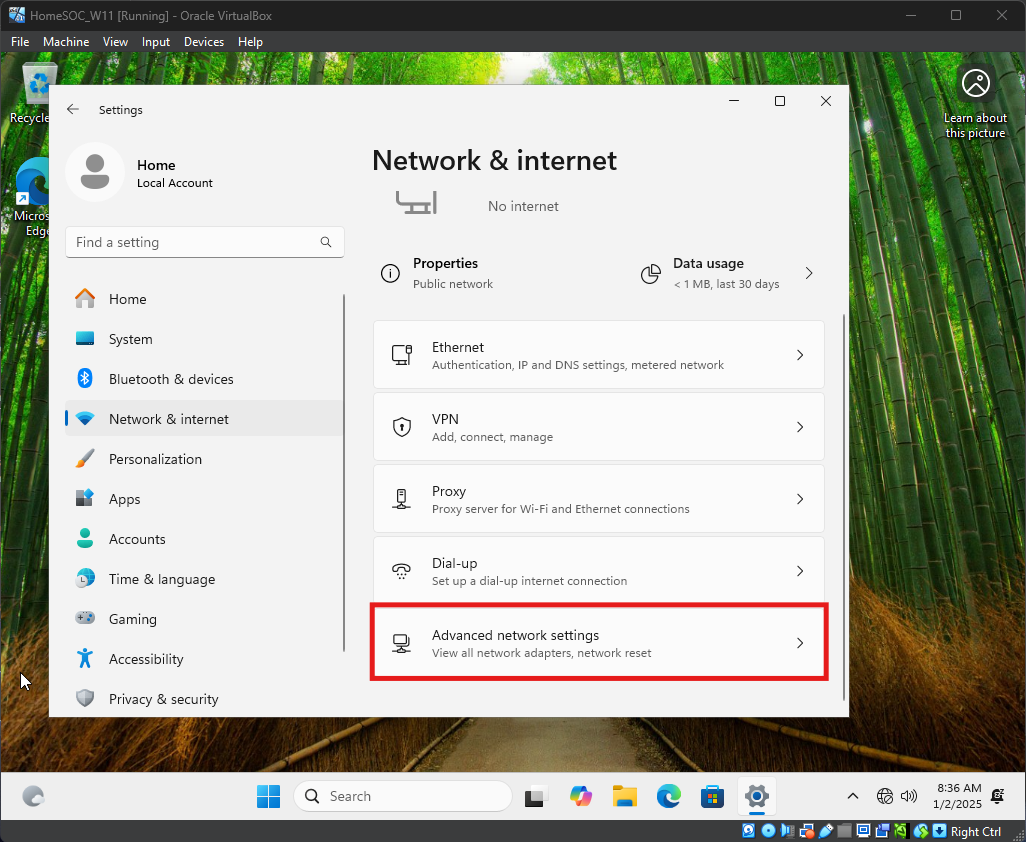
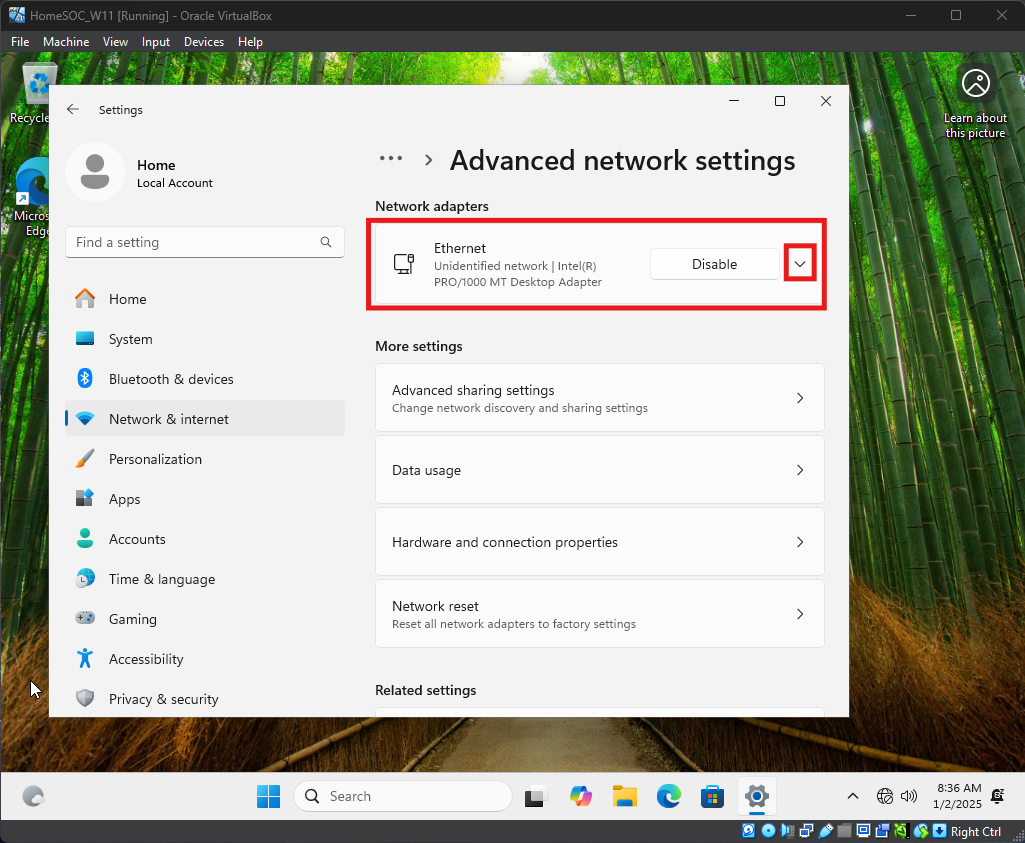
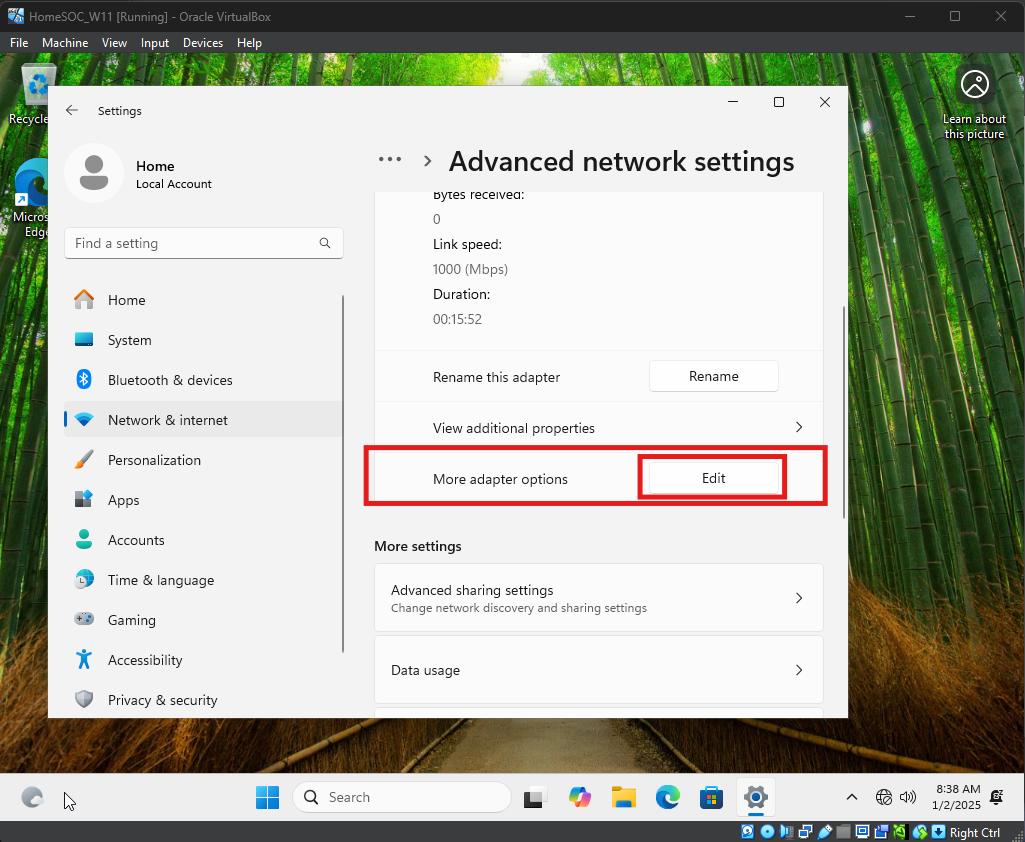
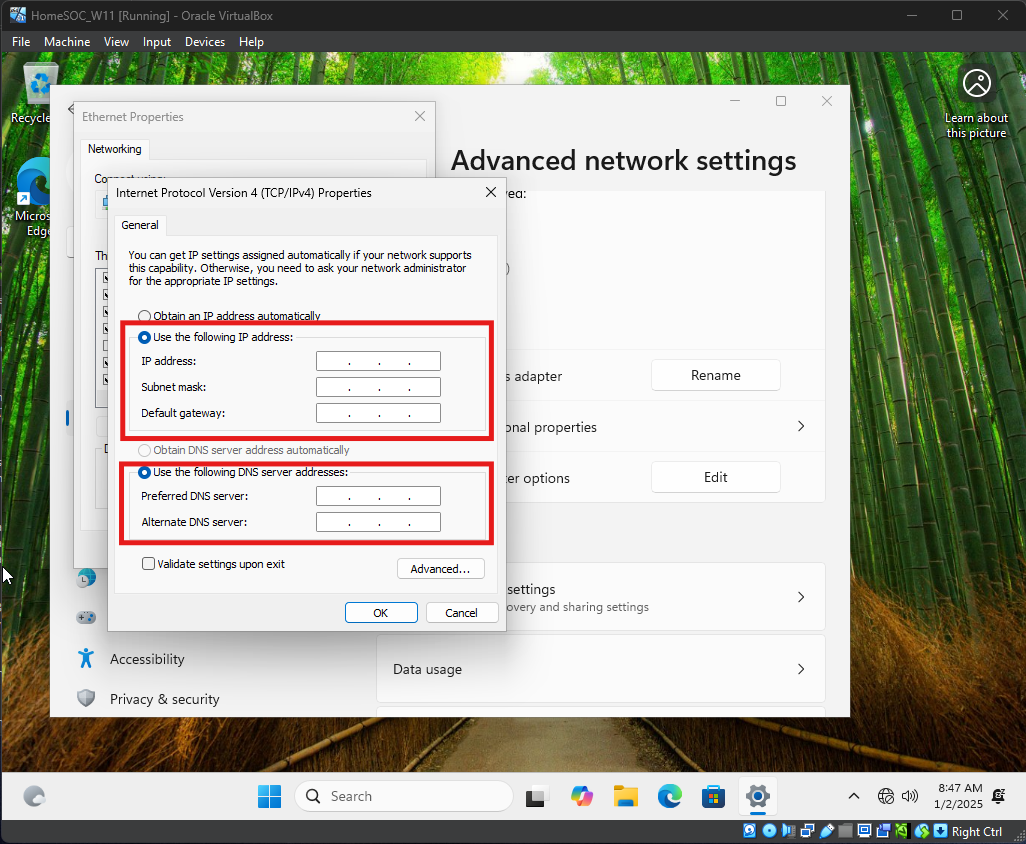
Follow below images to configure Window 11 IPv4 Network settings
Assign a Static IP, Subnet, and Gateway (“LAN” IP Address from pfSense VM). The Preferred DNS server will be the IP Address of the Windows Server machine, then another known DNS server (ex. Google’s DNS Server)
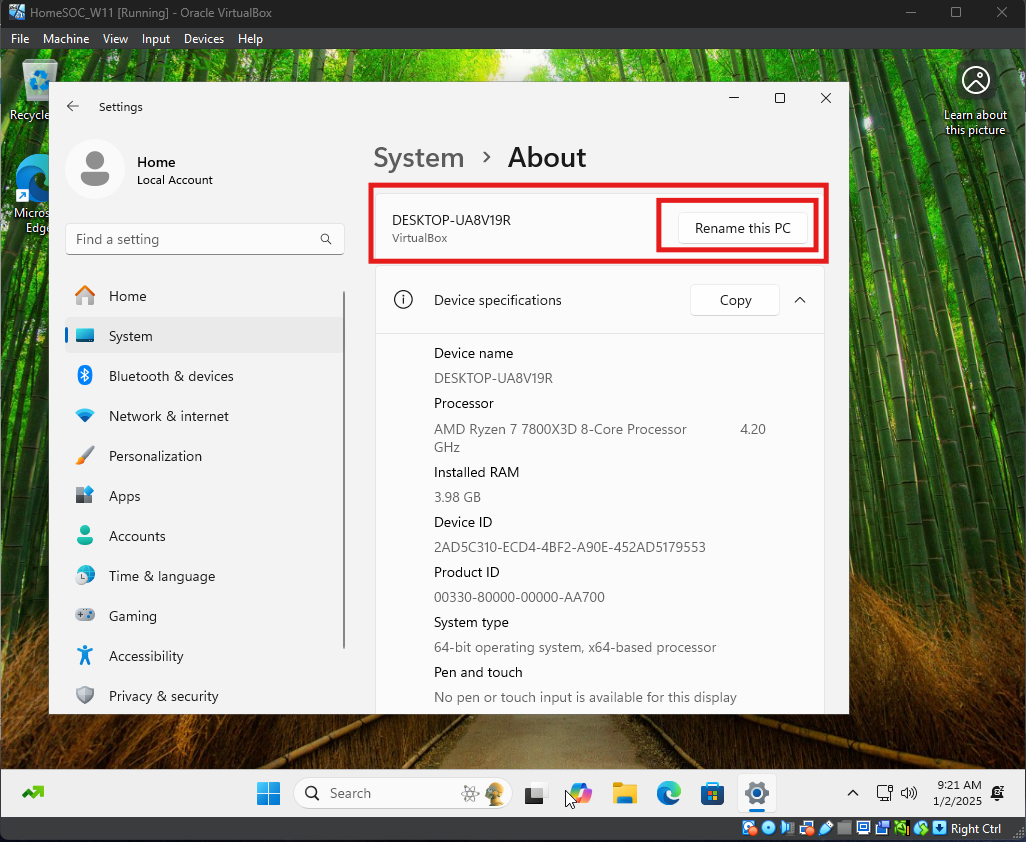
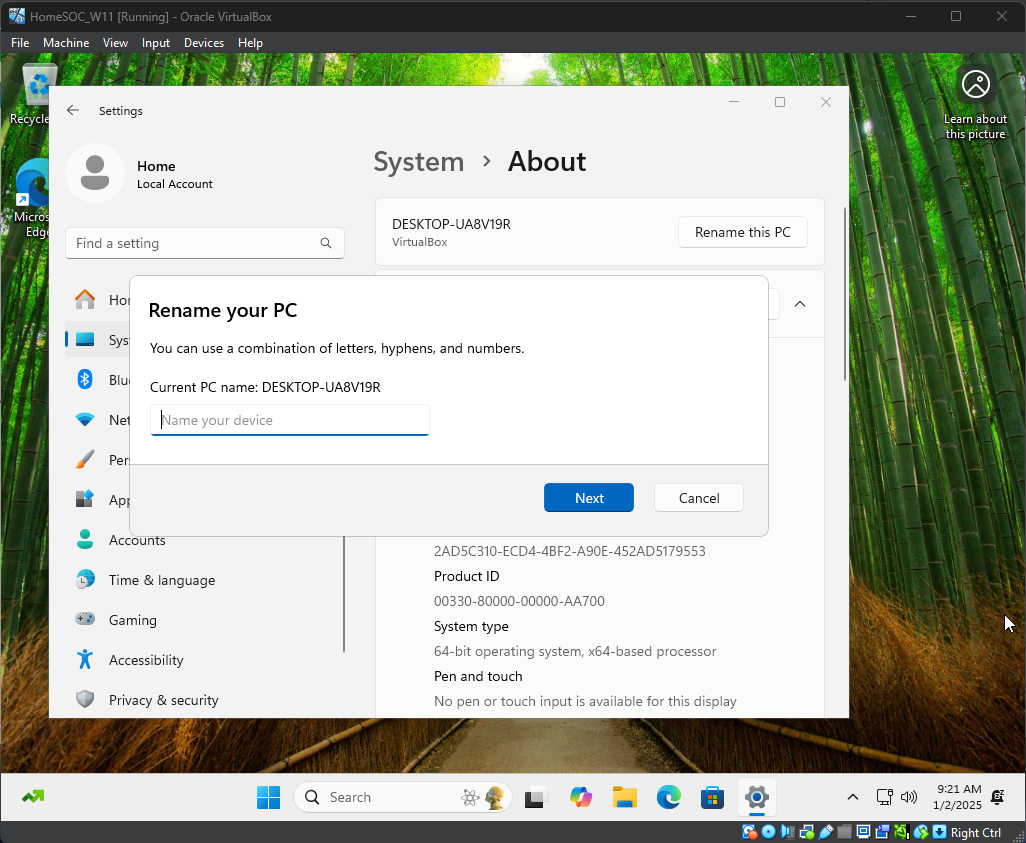
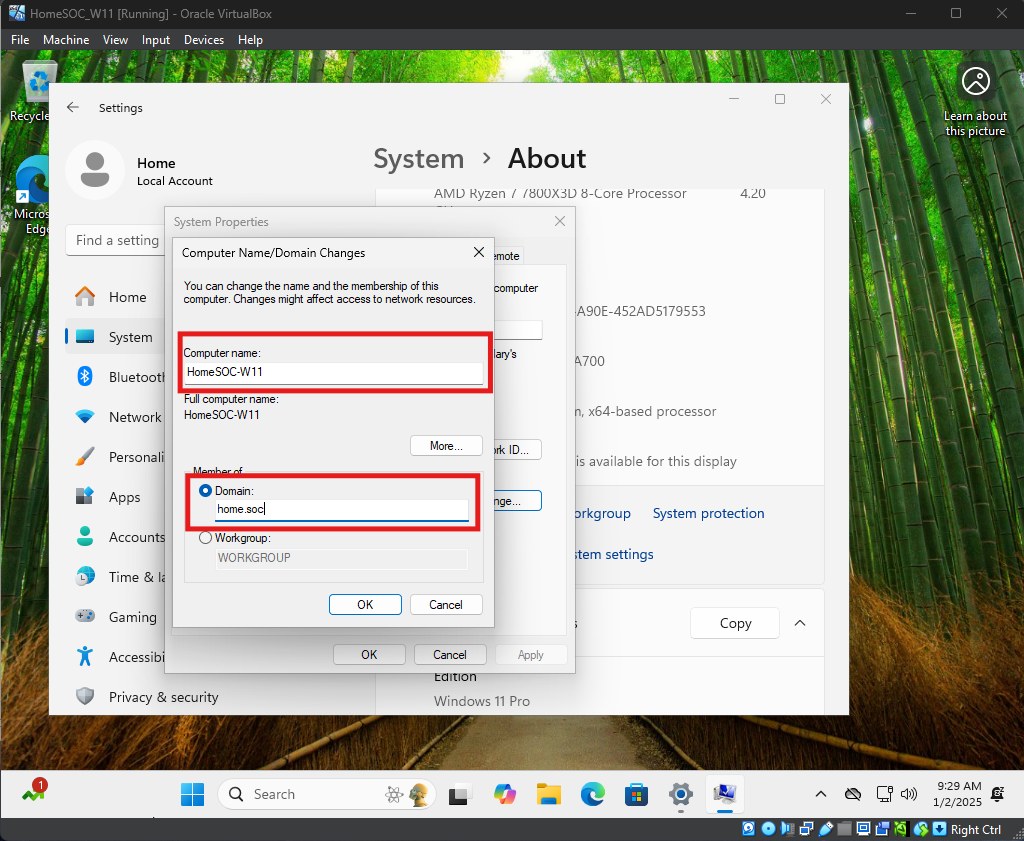
Next rename Windows 11 computer and reboot
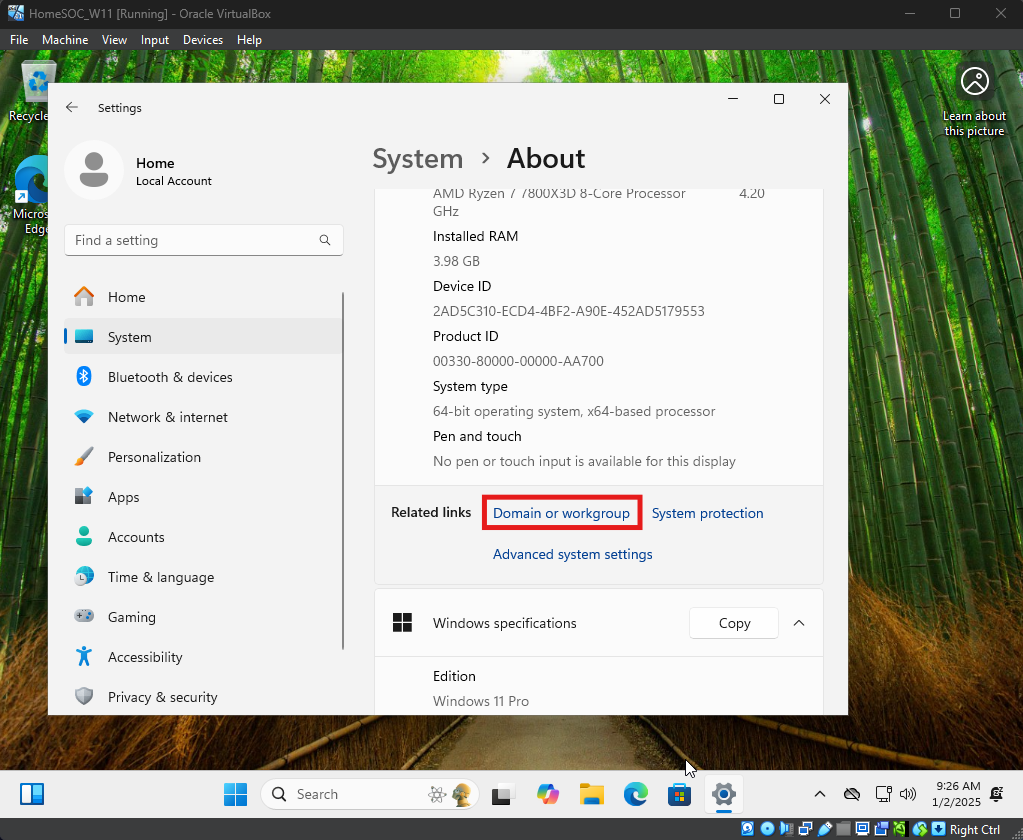
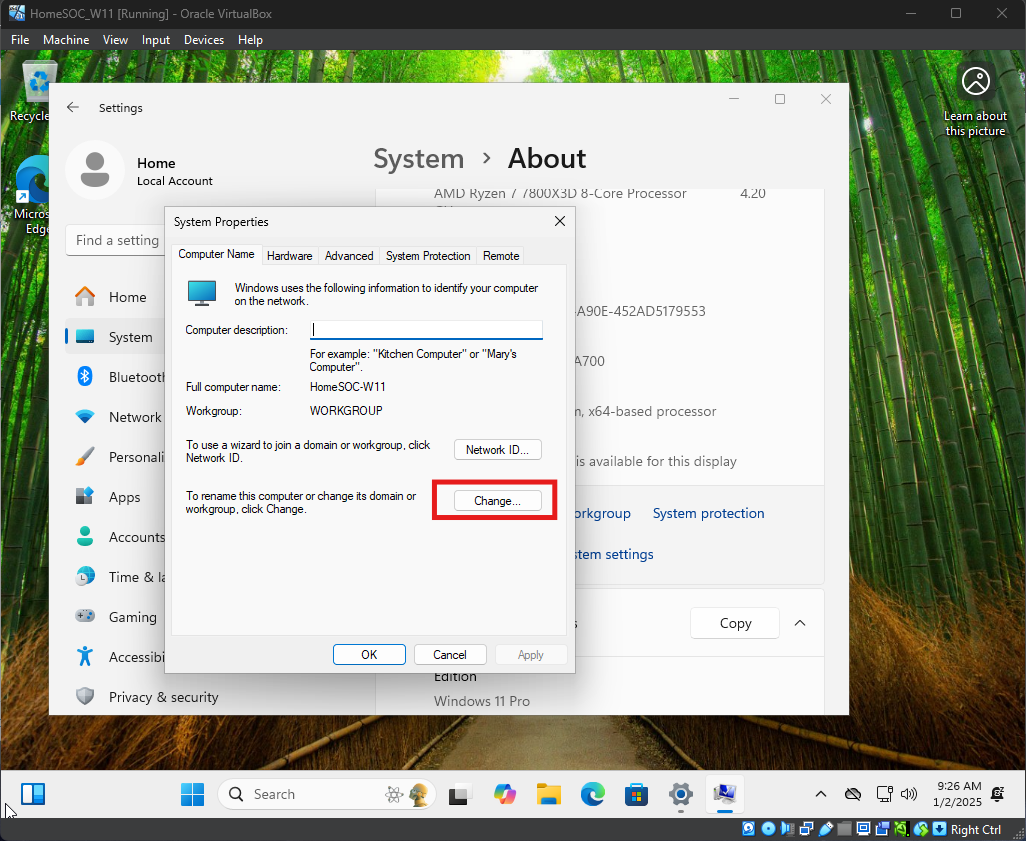
After the reboot is complete, follow below to add computer to the domain created on Windows Server