Windows Server and Active Directory Setup
Step 1: Download Windows Server
Download Windows Server ISO 64 bit
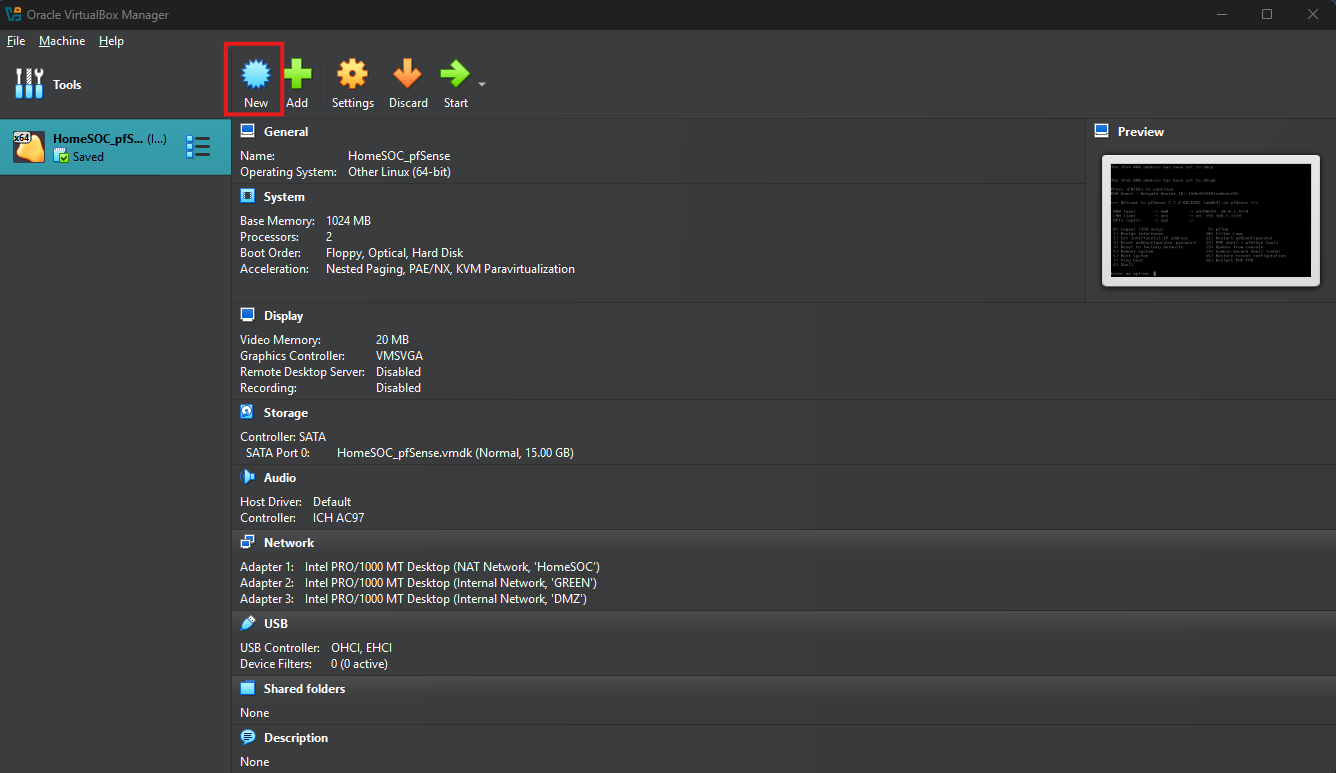
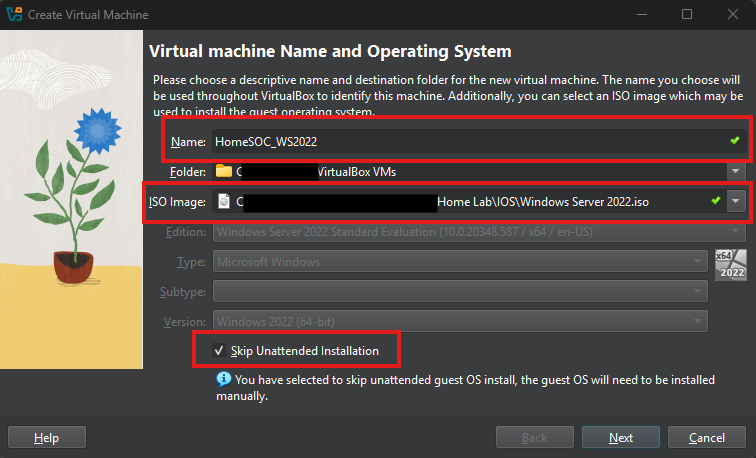
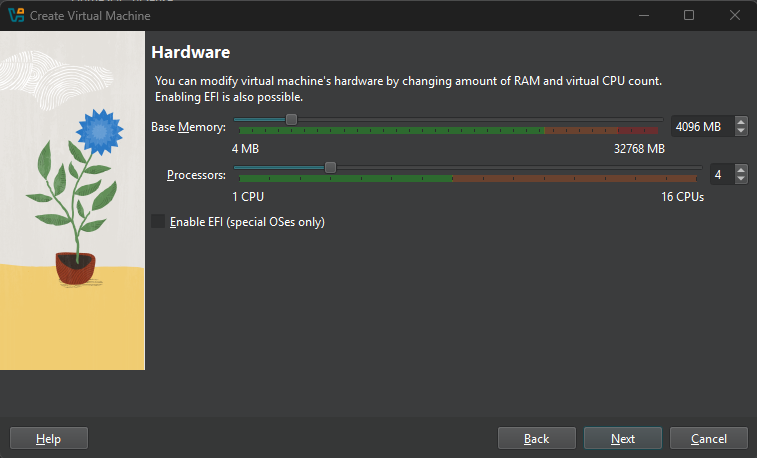
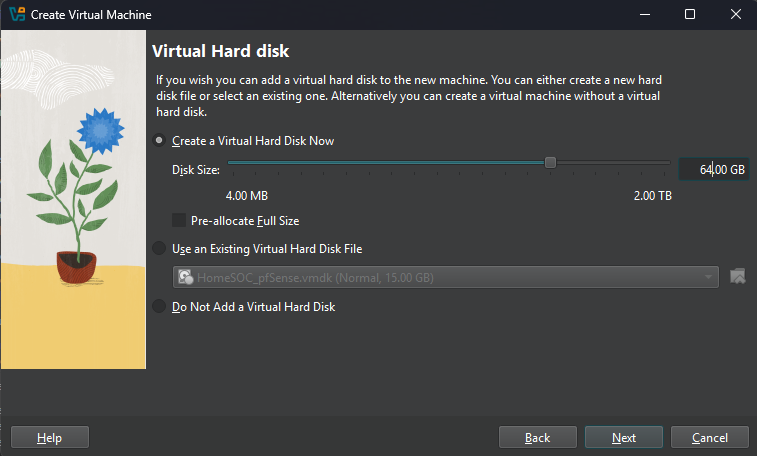
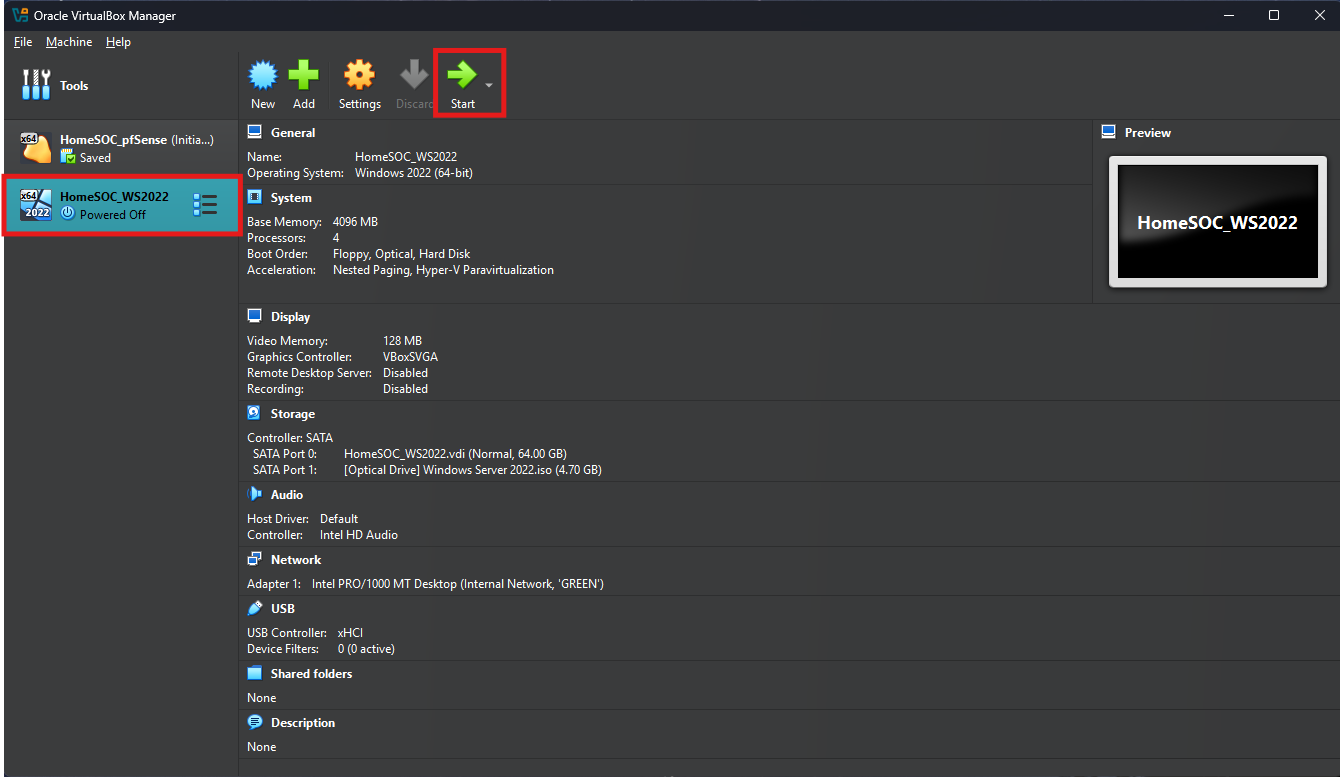
Step 2: Create new VM
Launch Oracle VBM and select “New”
Follow along with below images on completing the VM setup
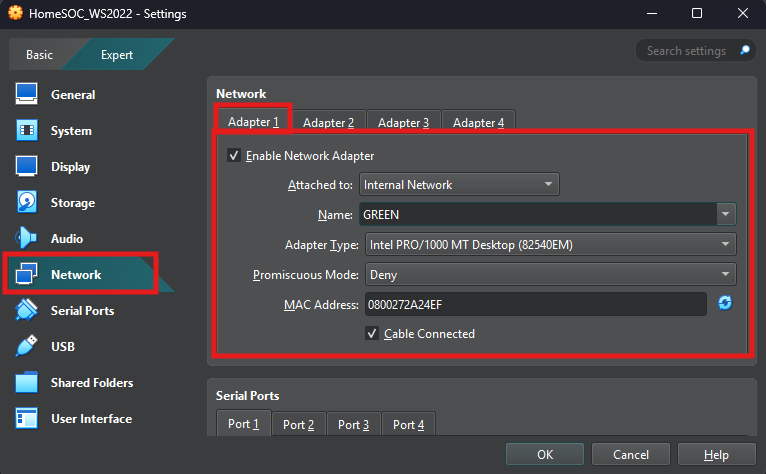
Step 3: Network Settings
Select the Windows Server VM’s settings and then network
In Network settings configure the following
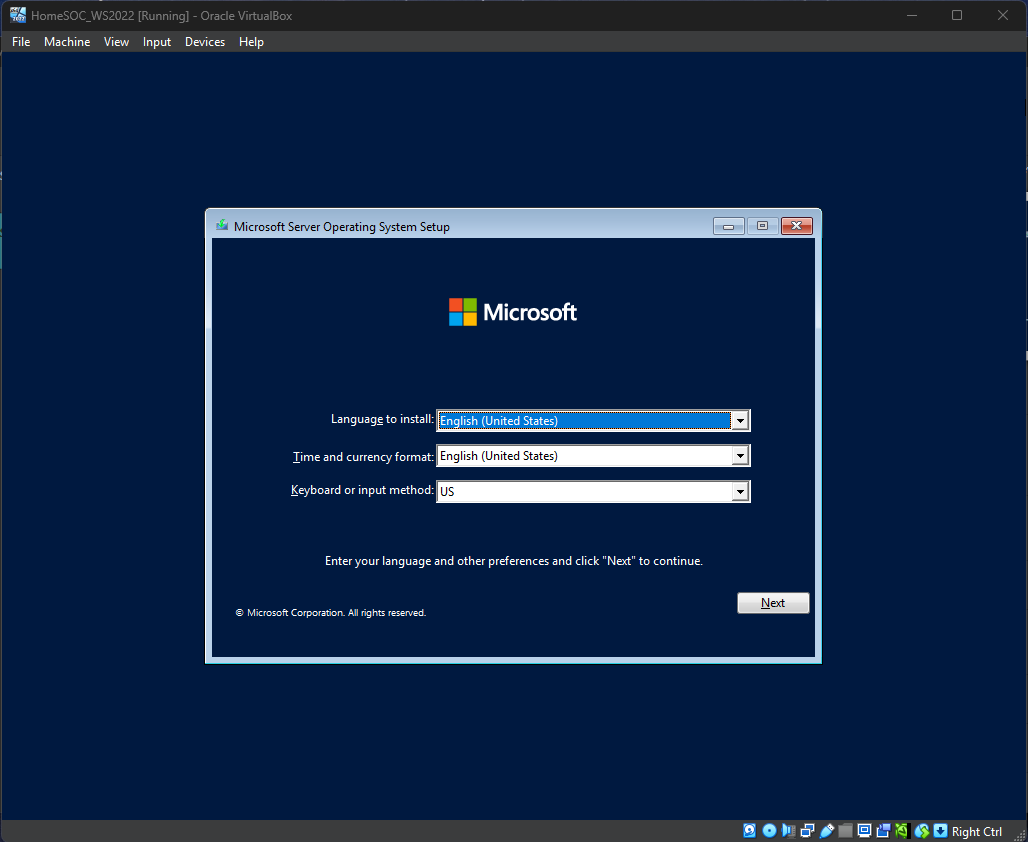
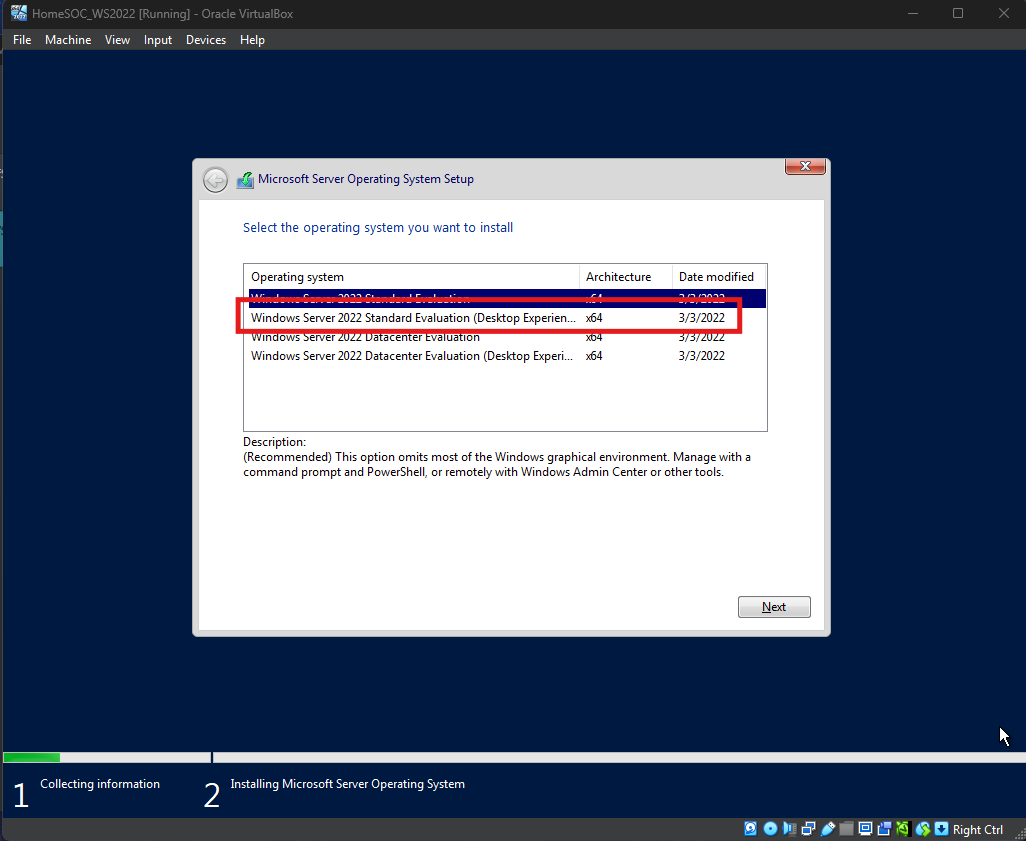
Step 4: Installing Windows Server on VM
Launch the Windows Server VM
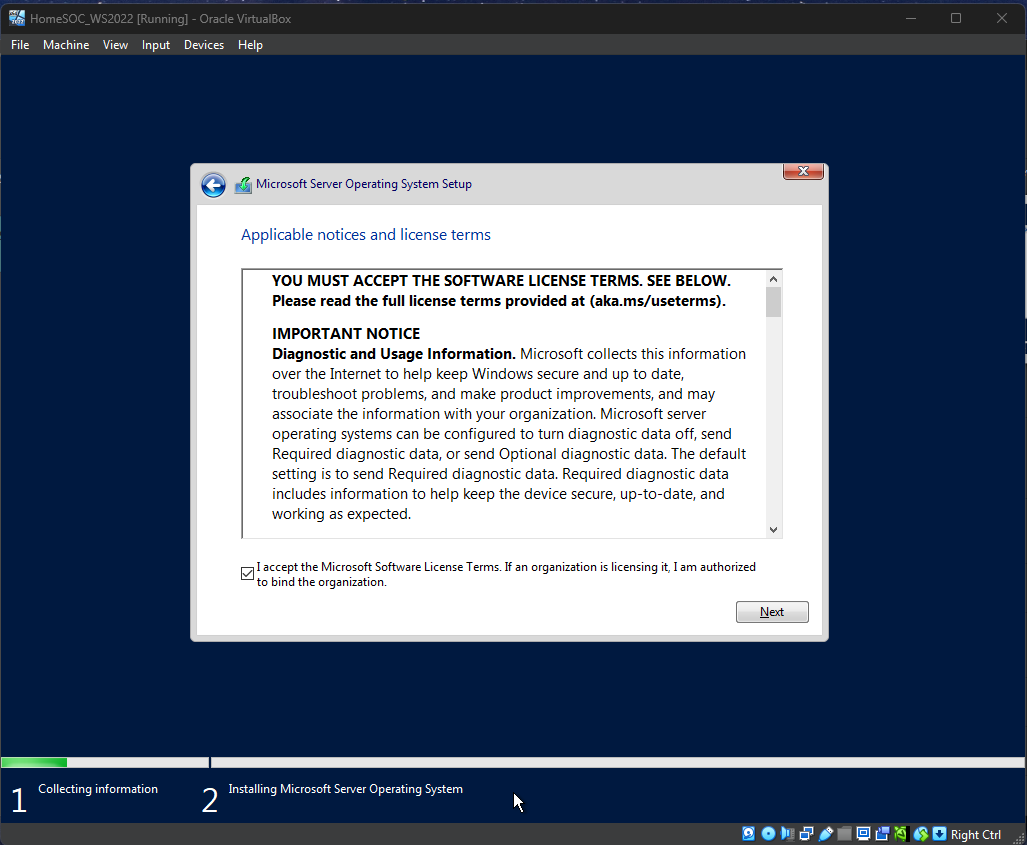
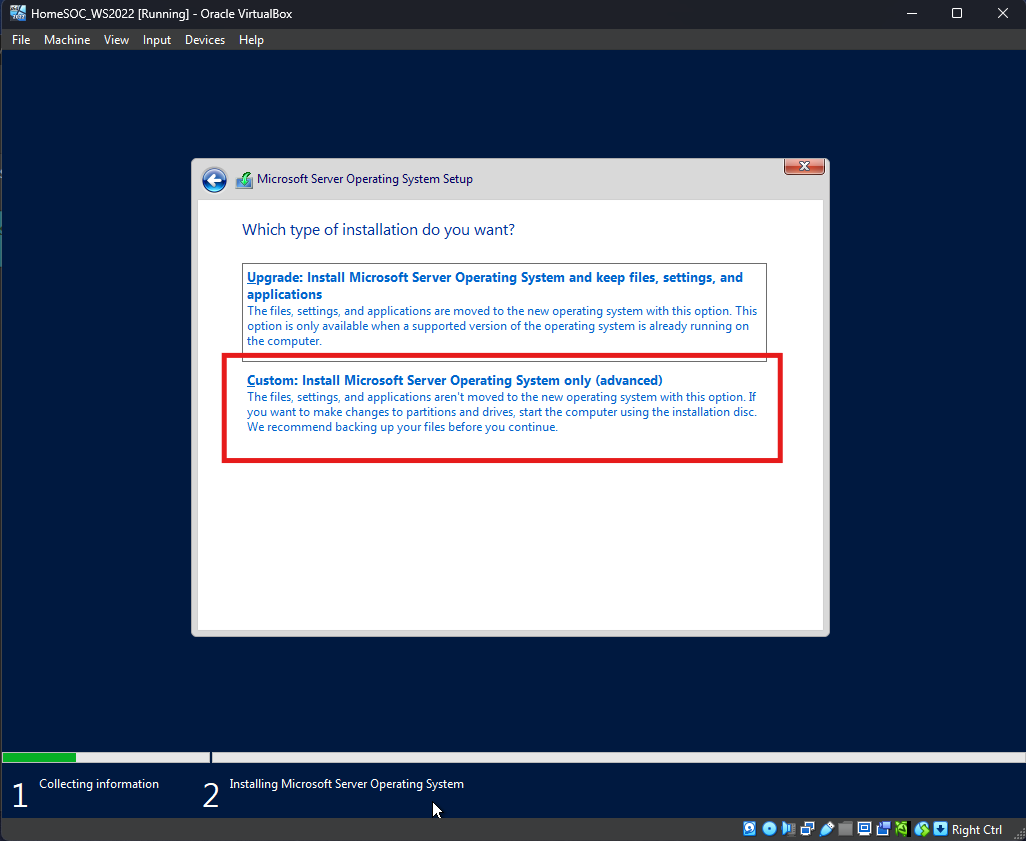
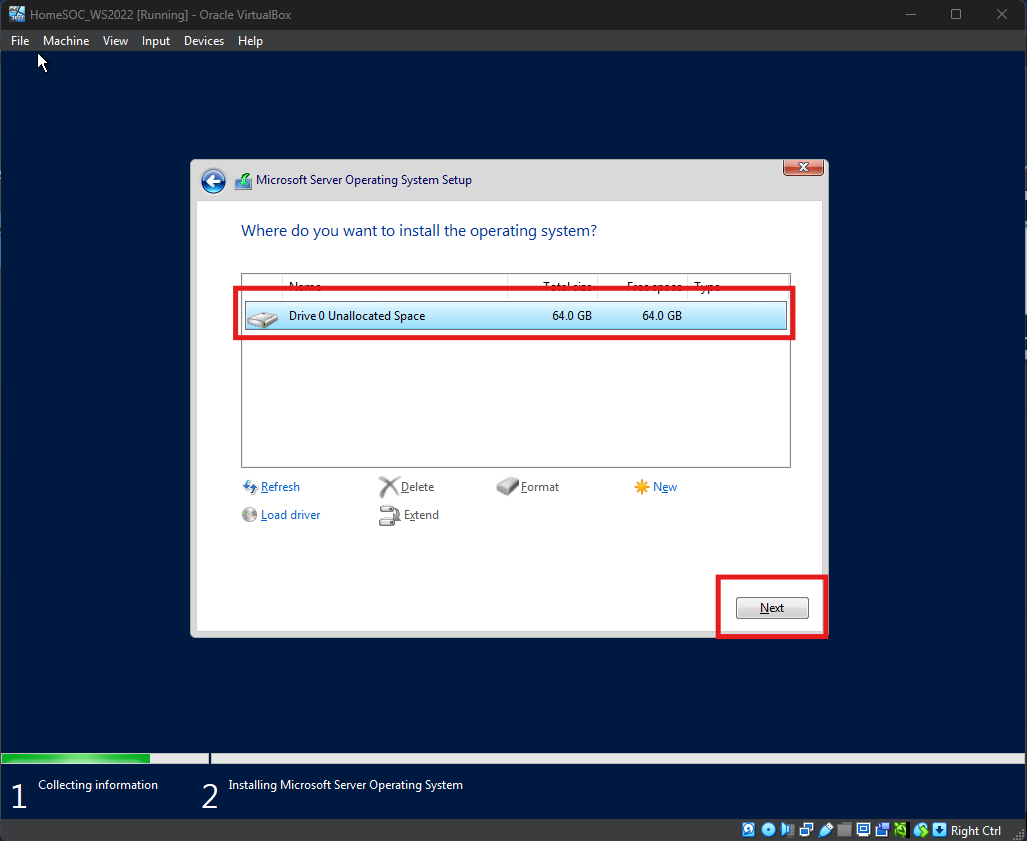
Once VM launches, follow through the installation process
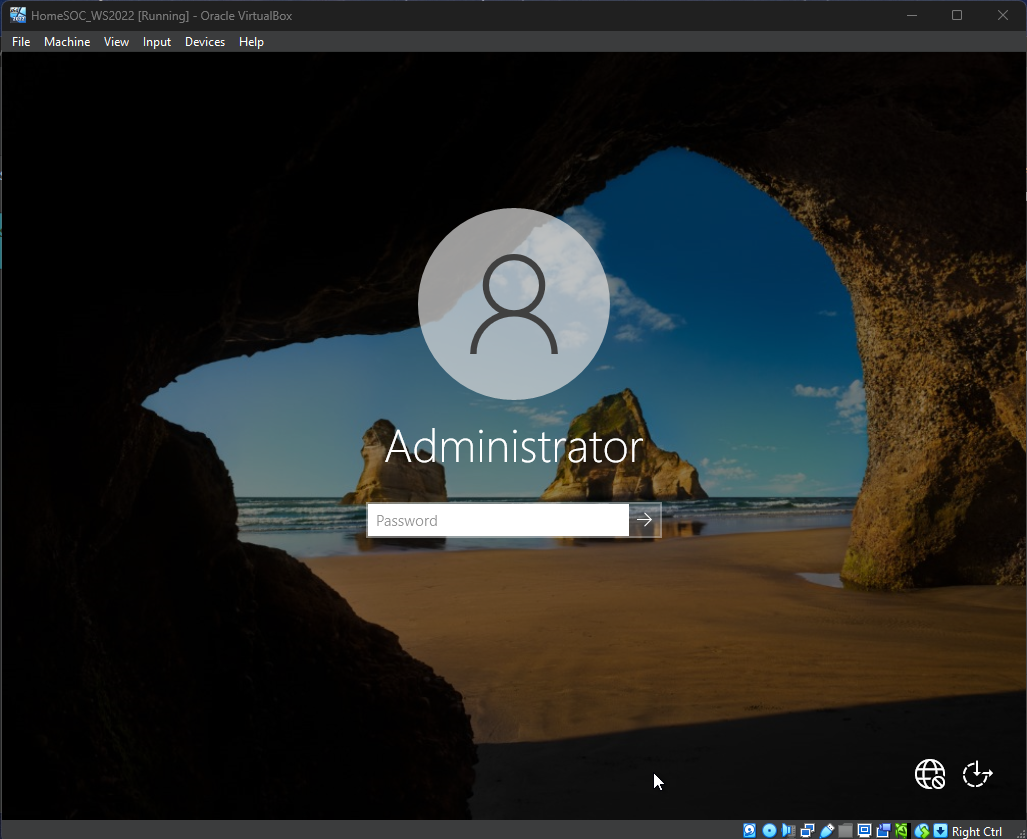
Once the installation is complete the system will reboot then prompt for the creation of a local Administrator account
Step 5: Configuring Windows Server
Login to Windows Server
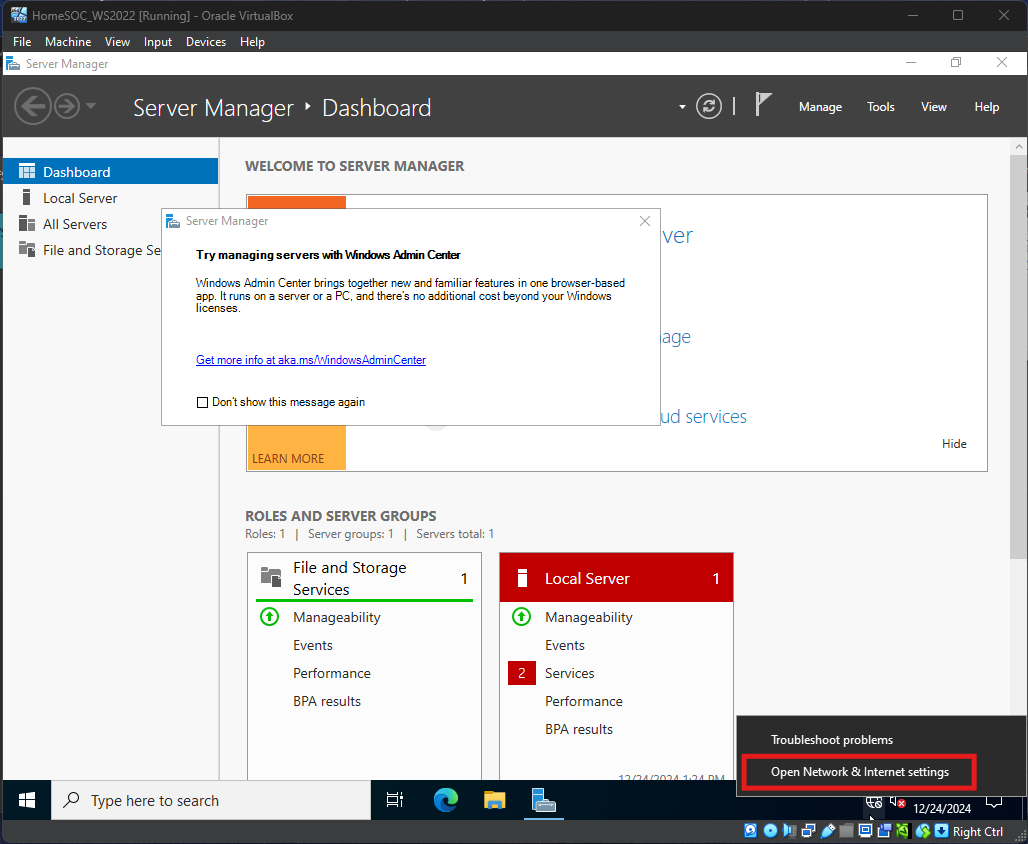
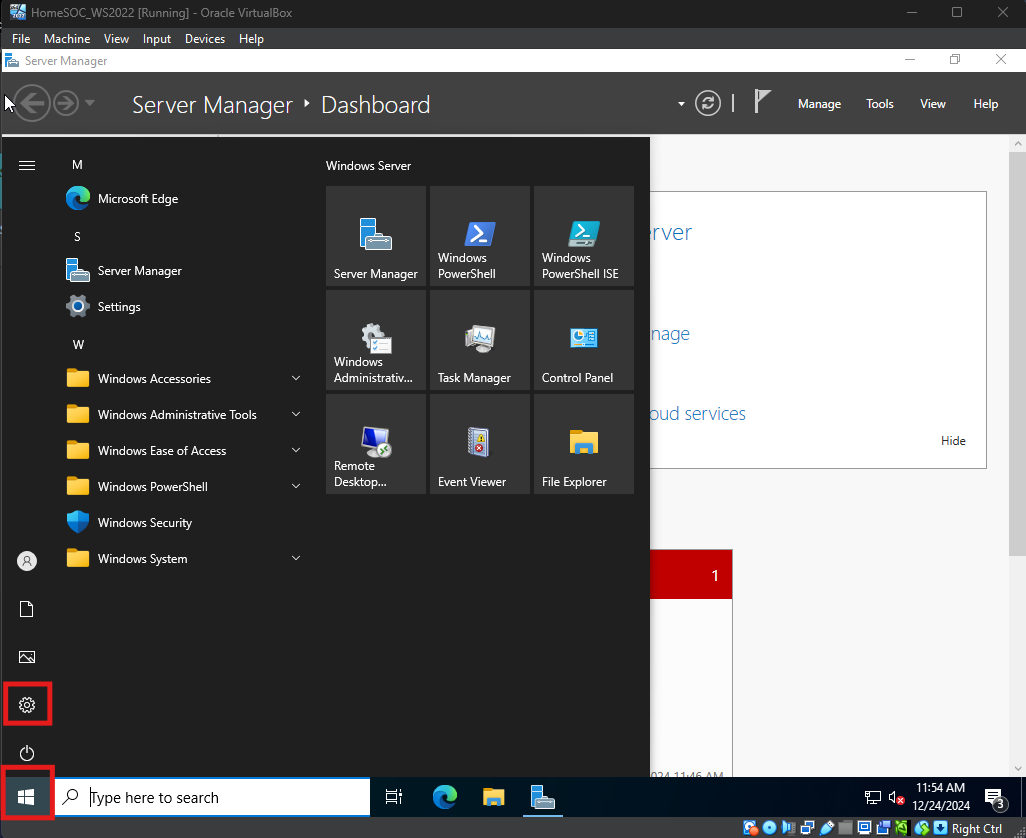
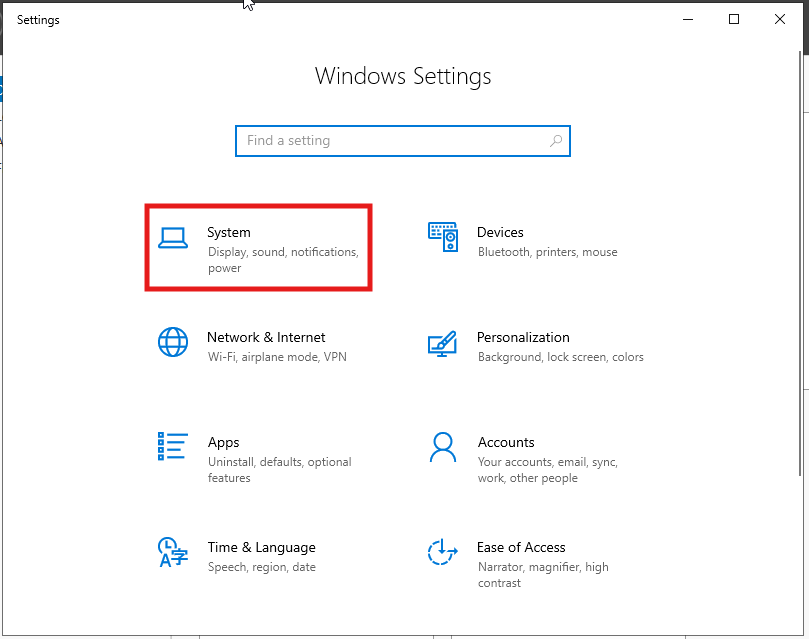
Open Network & Internet Settings
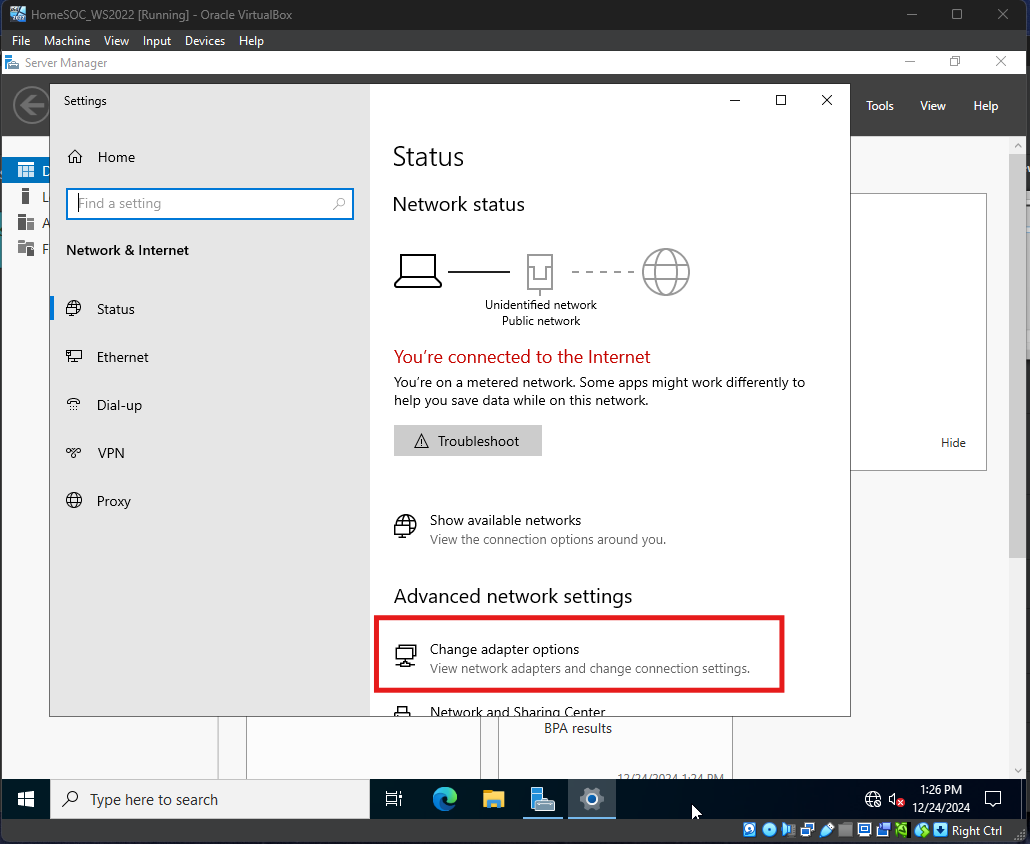
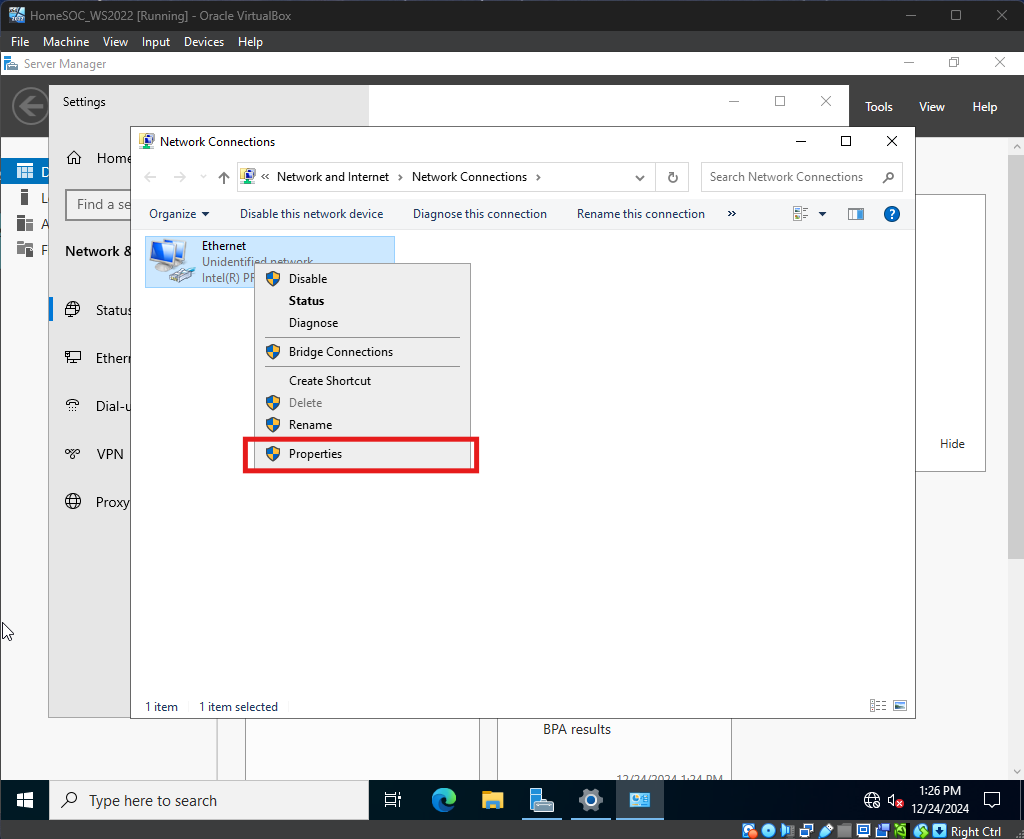
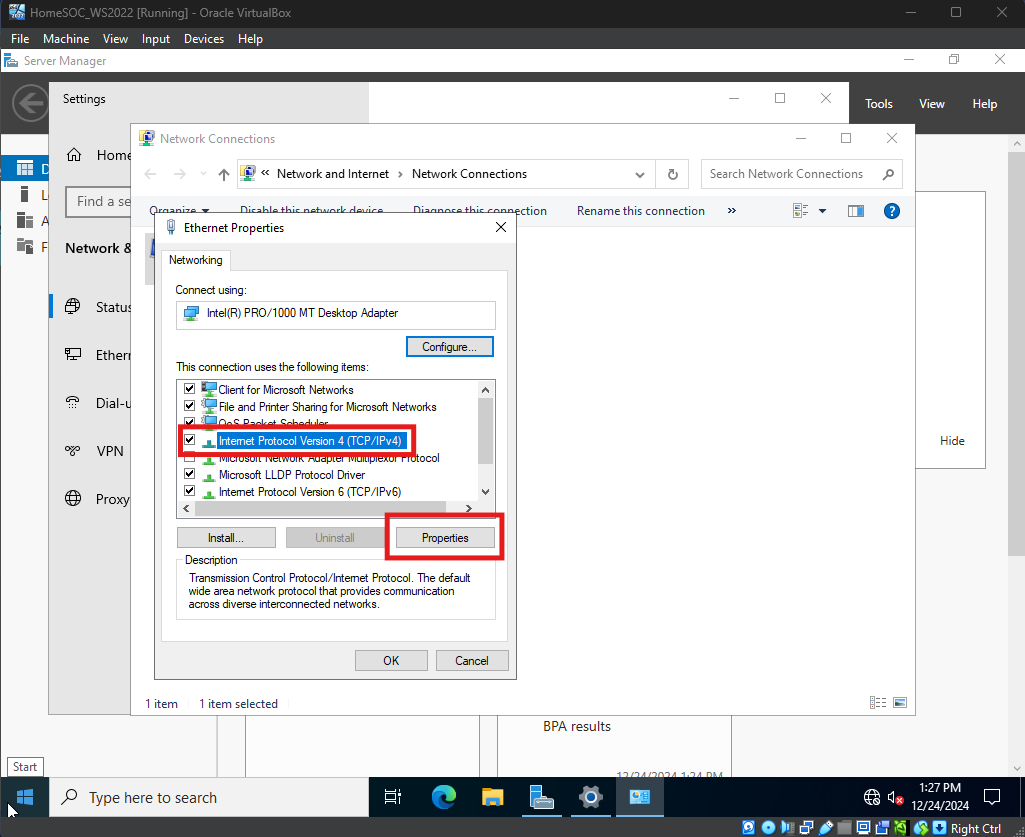
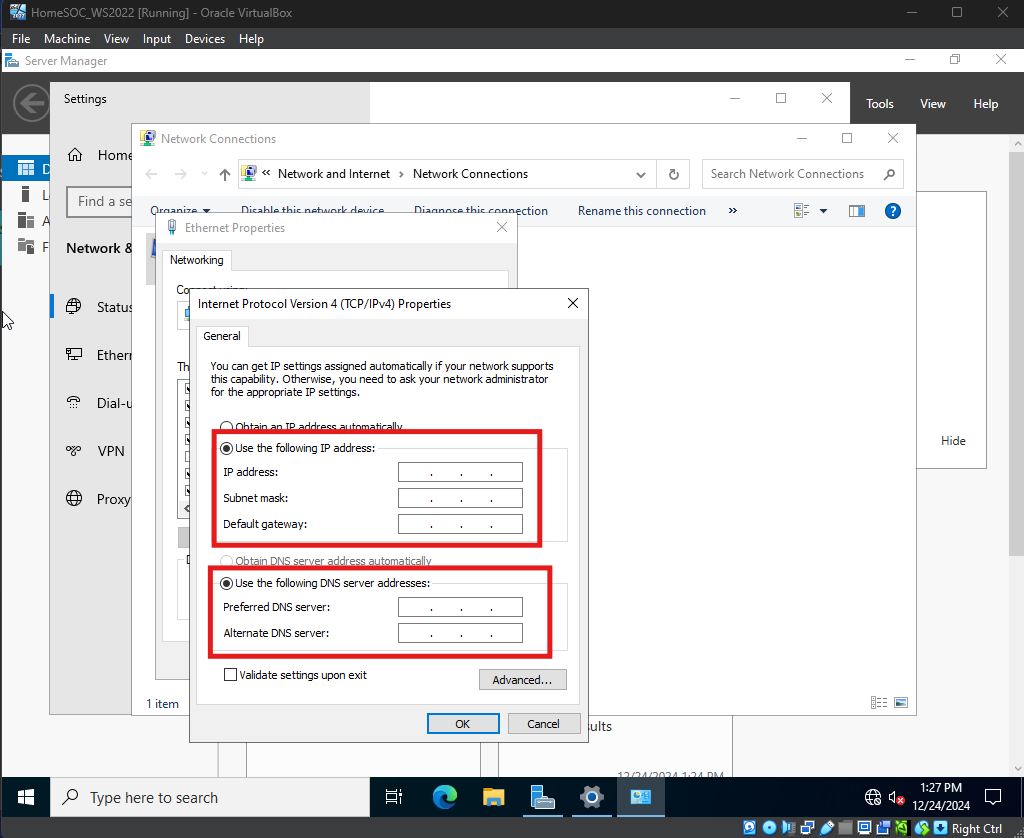
Follow below images to configure Window Server IPv4 Network settings
Assign a Static IP, Subnet, and Gateway (“LAN” IP Address from pfSense VM). The Preferred DNS server will be the IP Address of the Windows Server machine, then another known DNS server (ex. Google’s DNS Server)
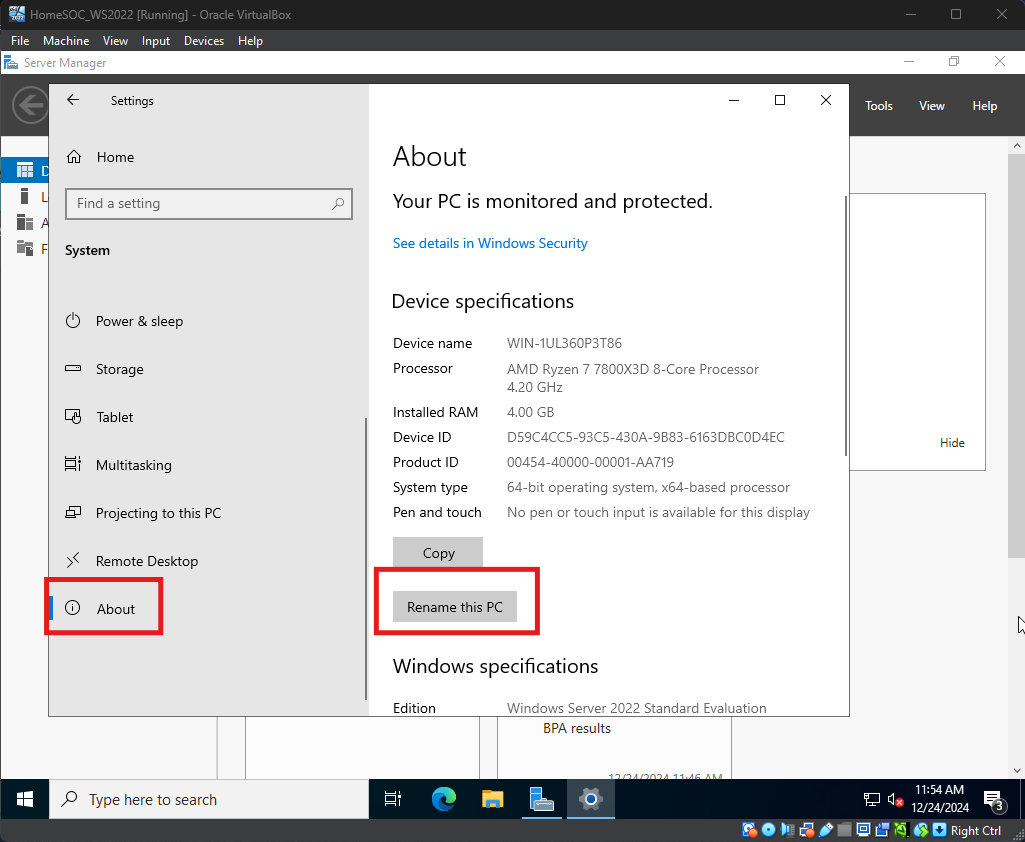
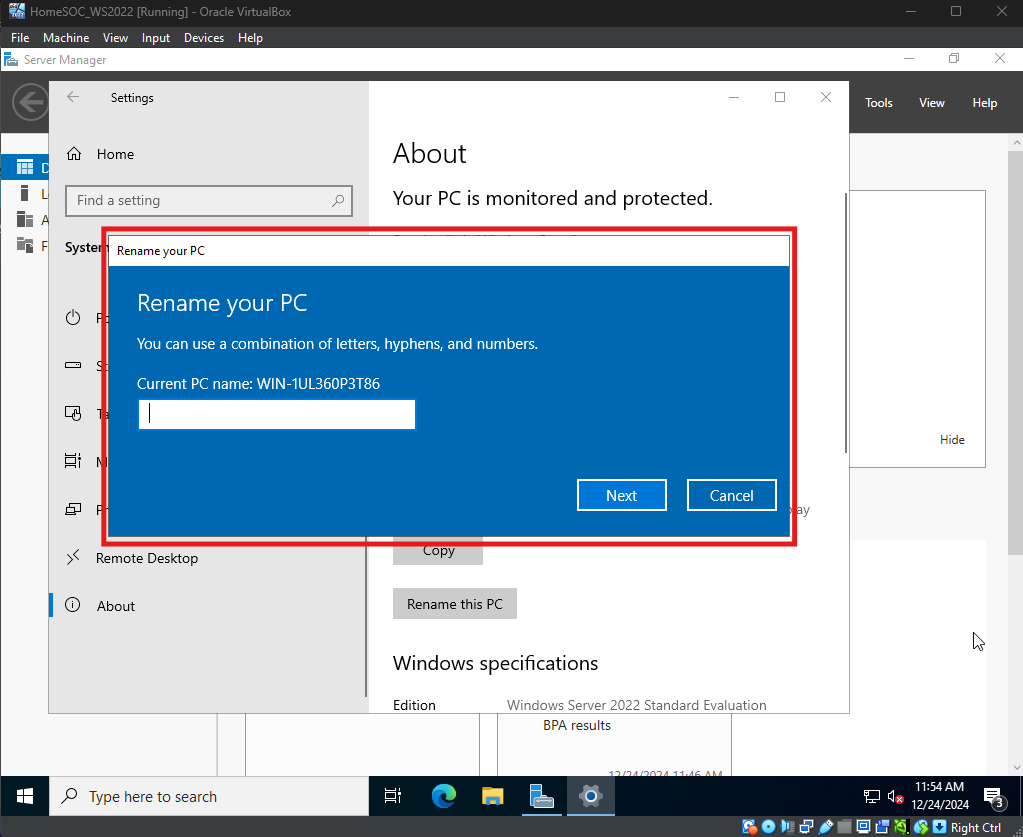
Next rename Windows Server and restart
Step 6: Installing Active Directory
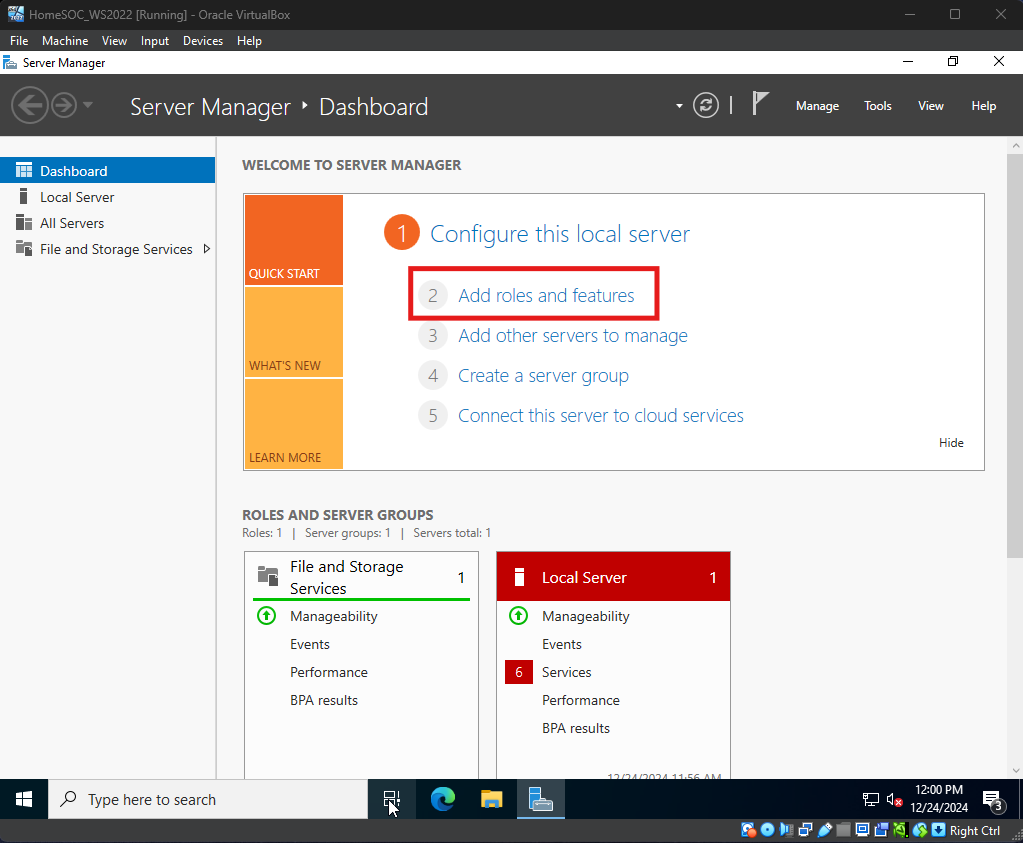
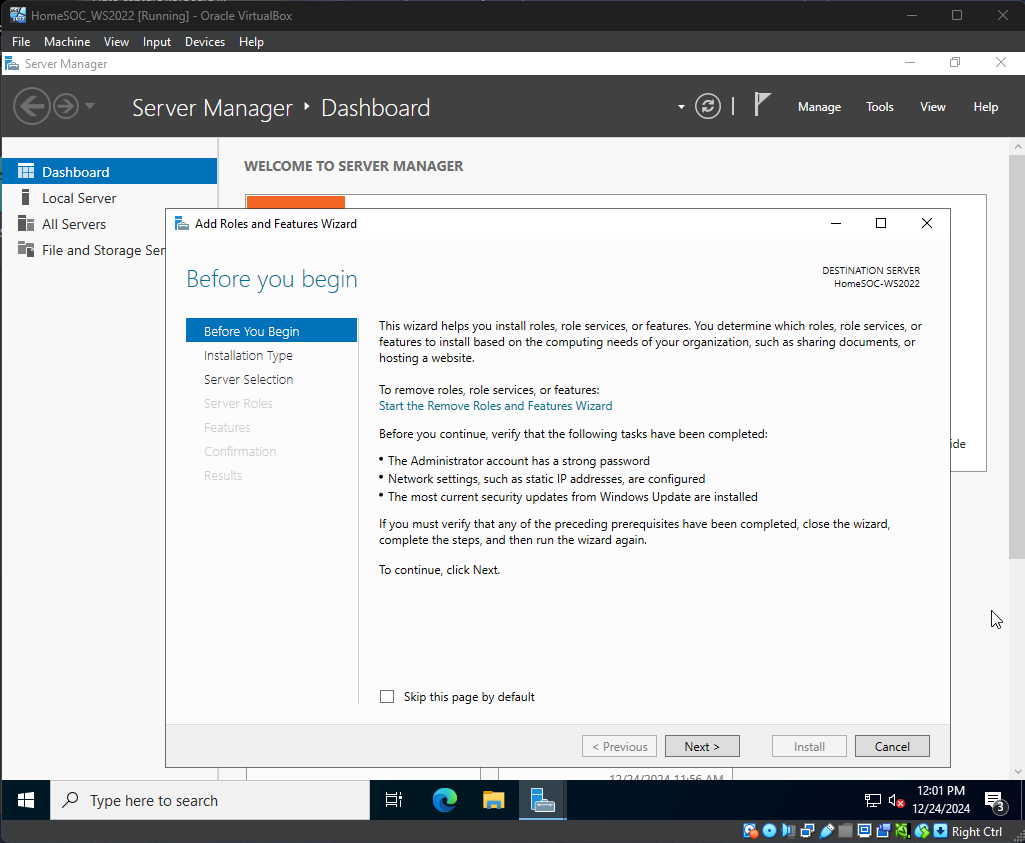
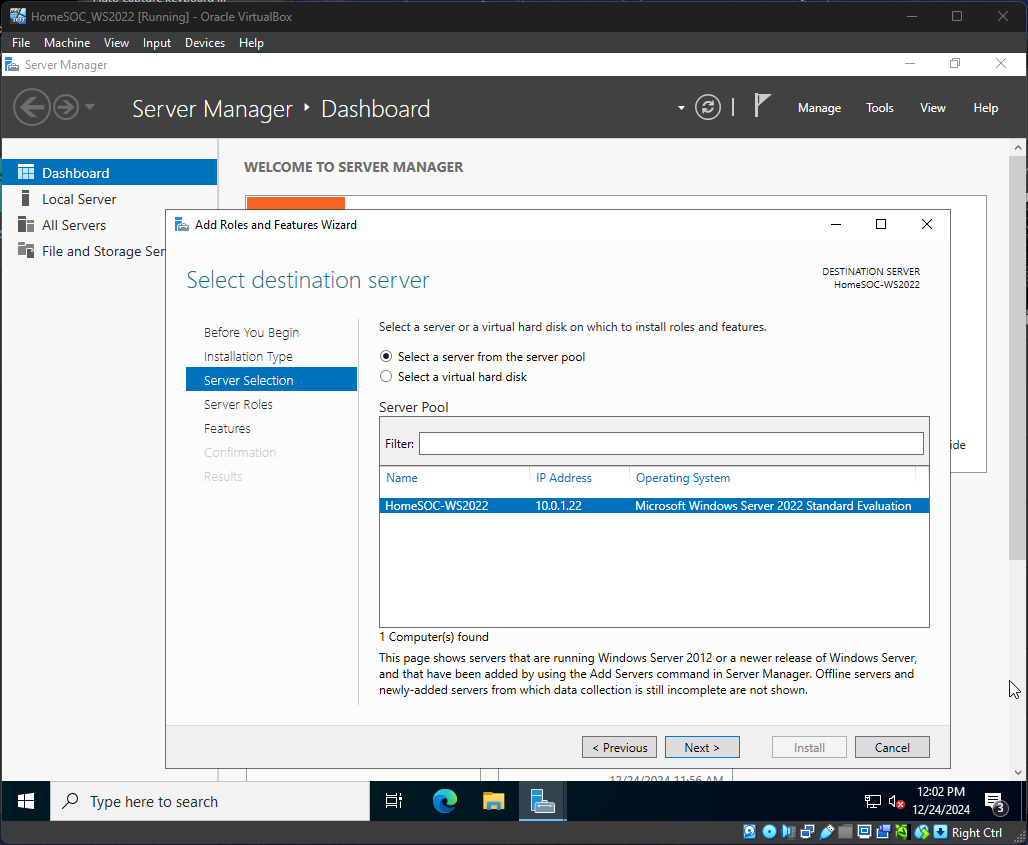
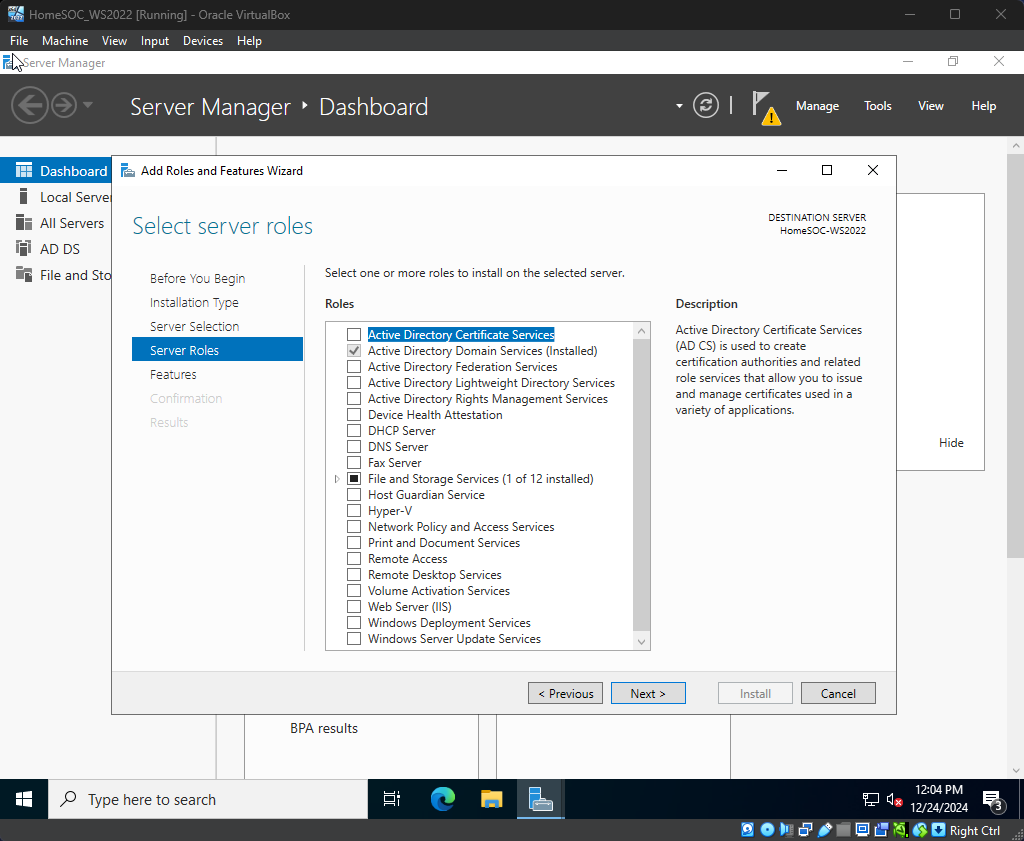
After restart and logging in, open Server Manager then Add roles and features
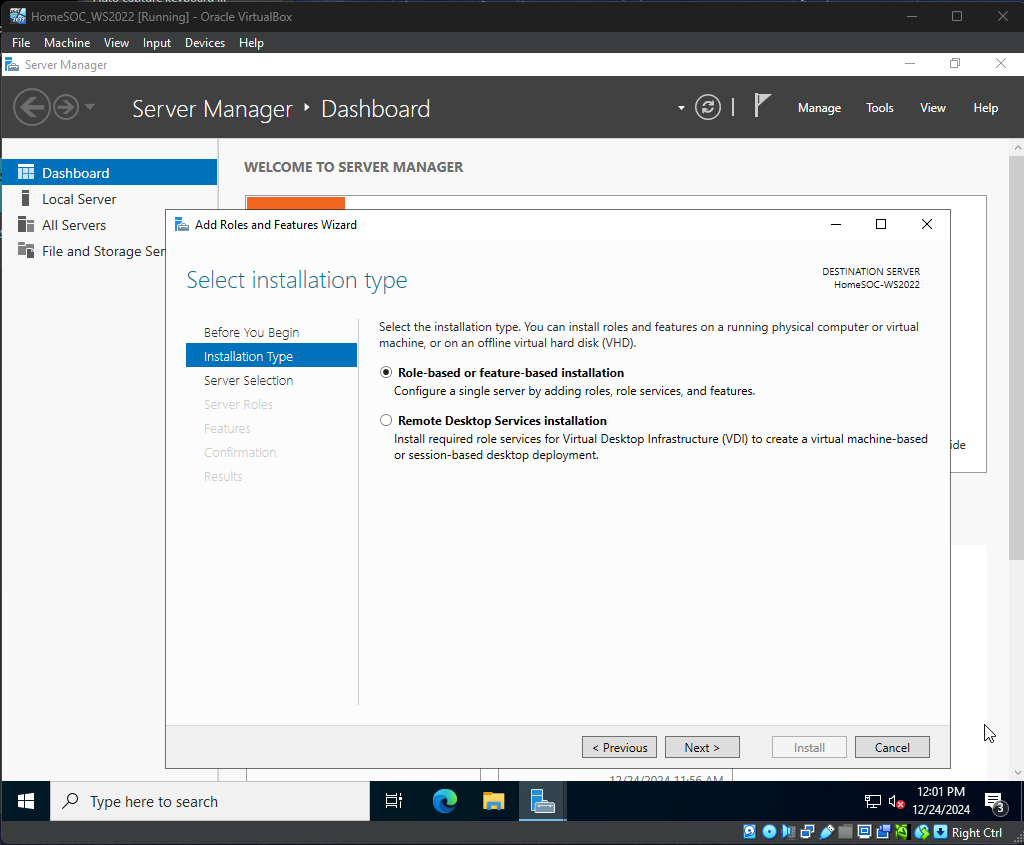
Follow images below to install Active Directory
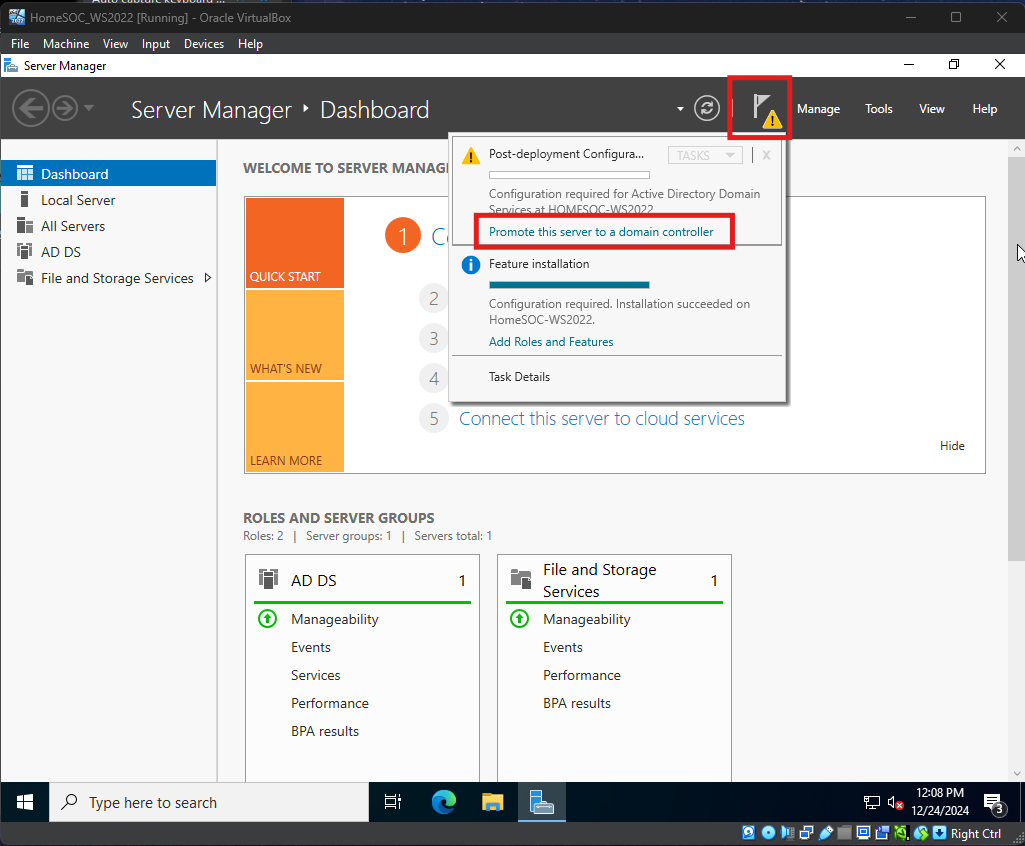
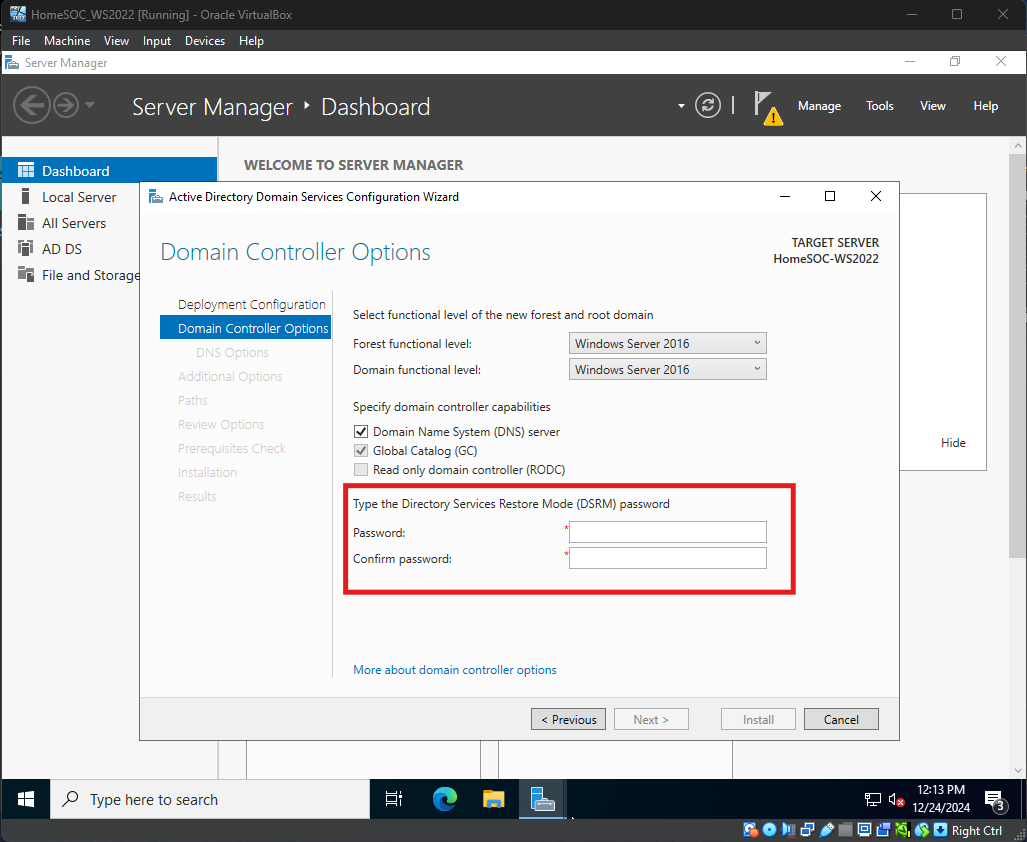
After install open the Warning Flag to promote the server as a domain controller
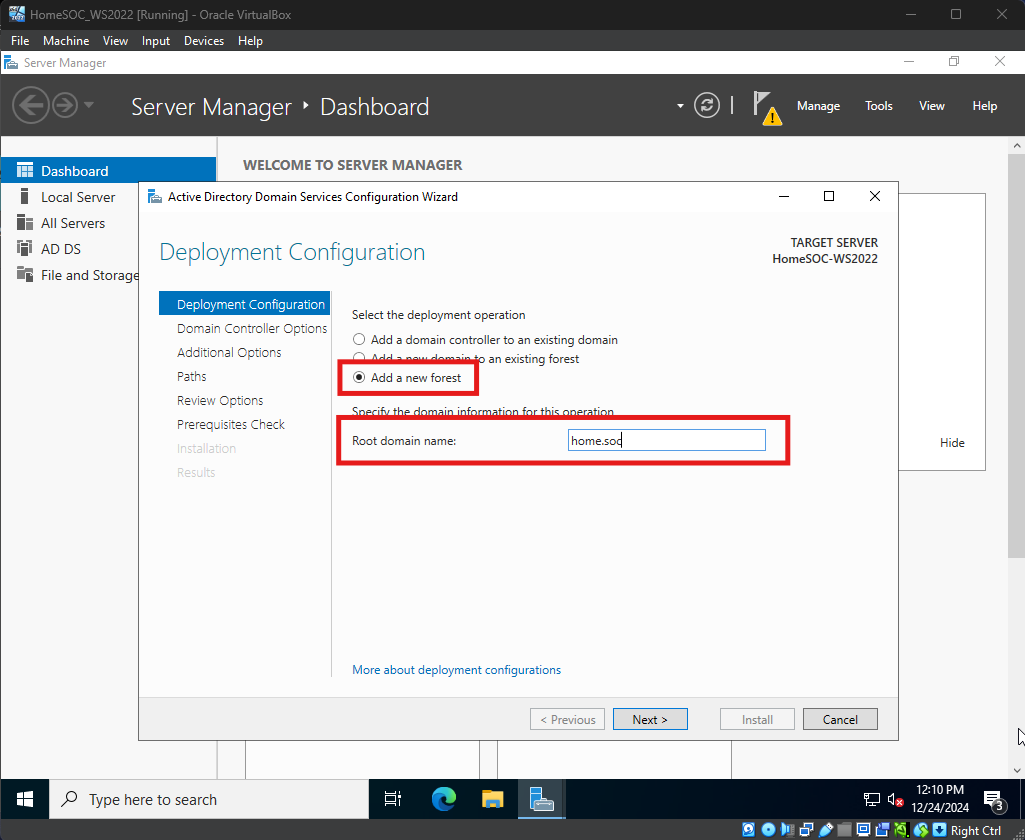
Add a new forest and name it
Leave default configuration, create password, and restart after the domain is configured.


Step 7: Configure AD
Download BadBlood script on the Windows Server VM to populate AD with misconfiguration to analyze and remediate
Launch Powershell as Administrator
Change directory to the Badblood folder
Launch Invoke-BadBlood.ps1 file
Script will automate AD configuration with new accounts