pfSense Virtual Machine Setup
Step 1: Download pfSense
Download pfSense (AMD64 ISO IPMI/Virtual Machine)
Step 2: Create New VM for pfSense
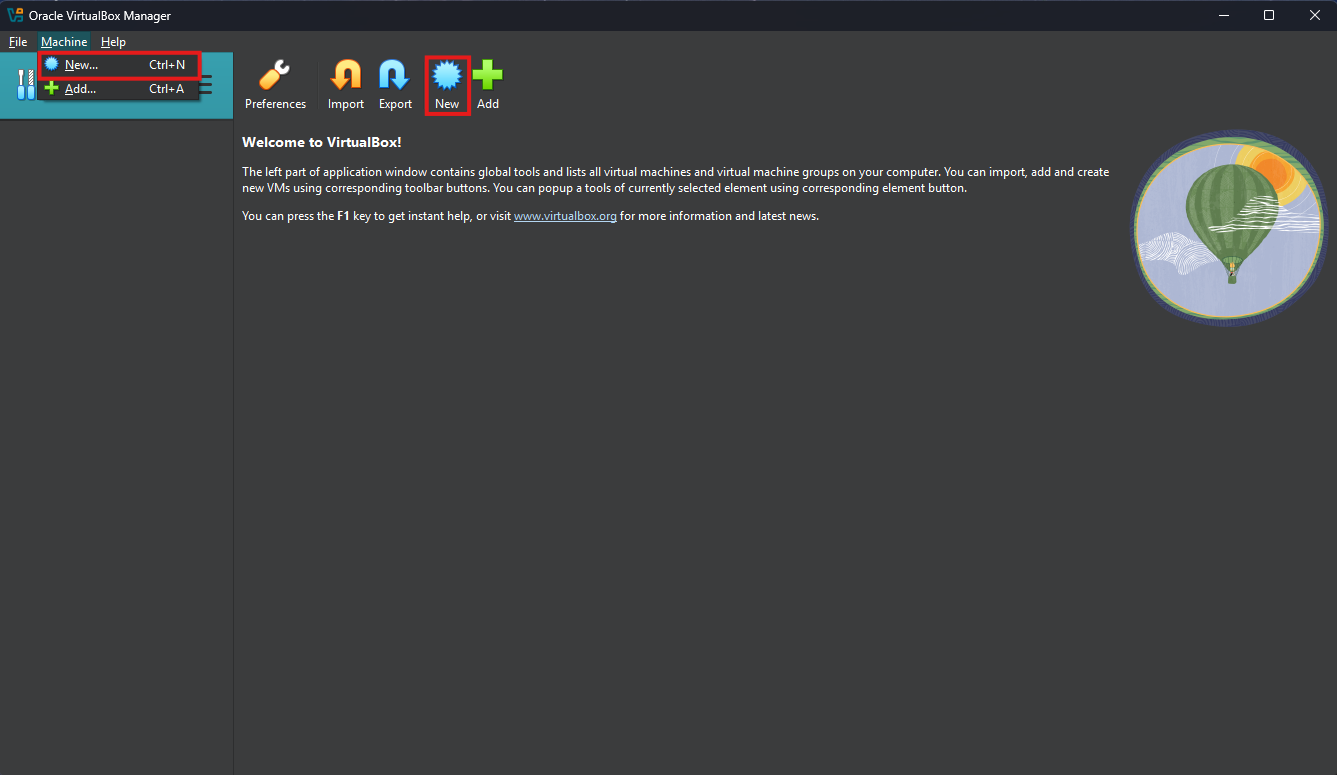
Launch Oracle VBM and select “New”
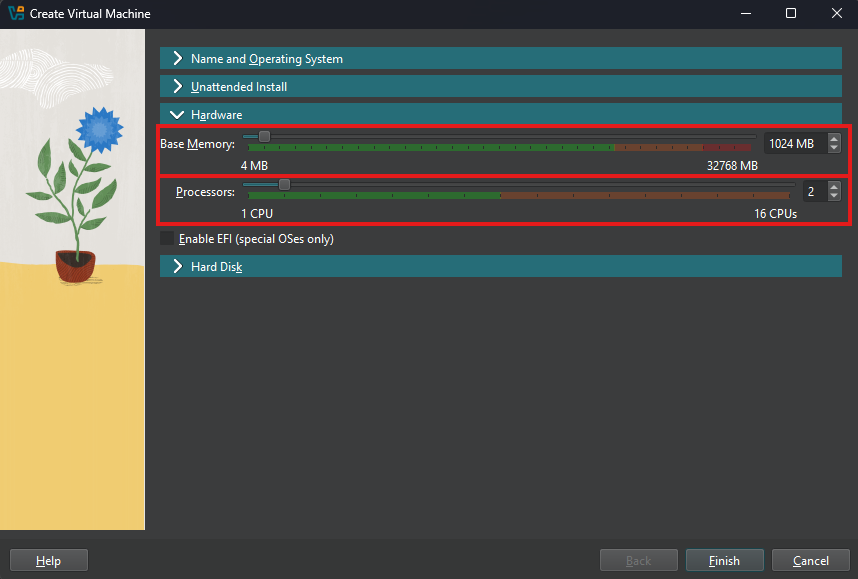
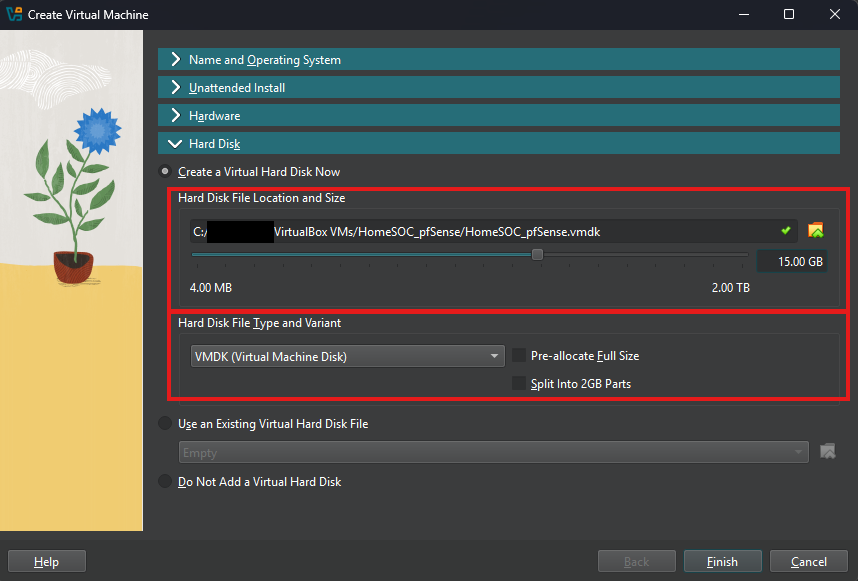
Follow along with below images on completing the VM setup
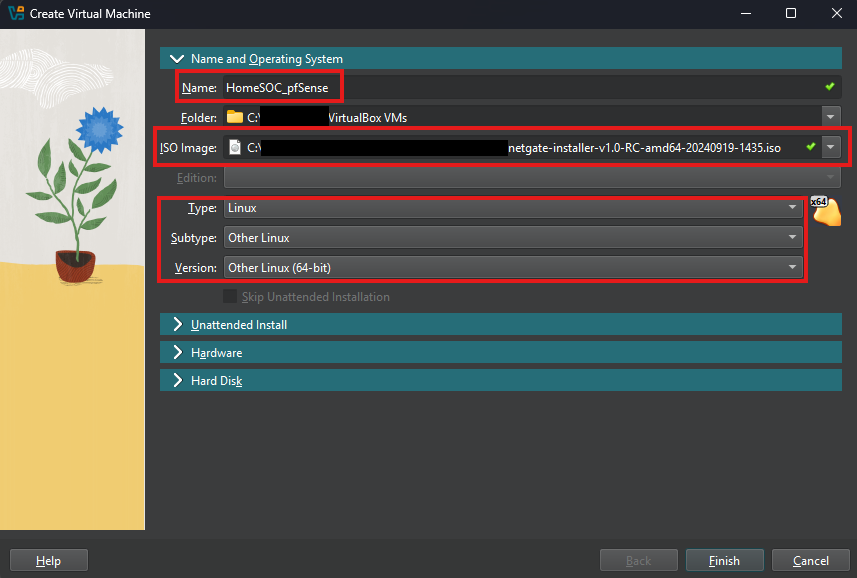
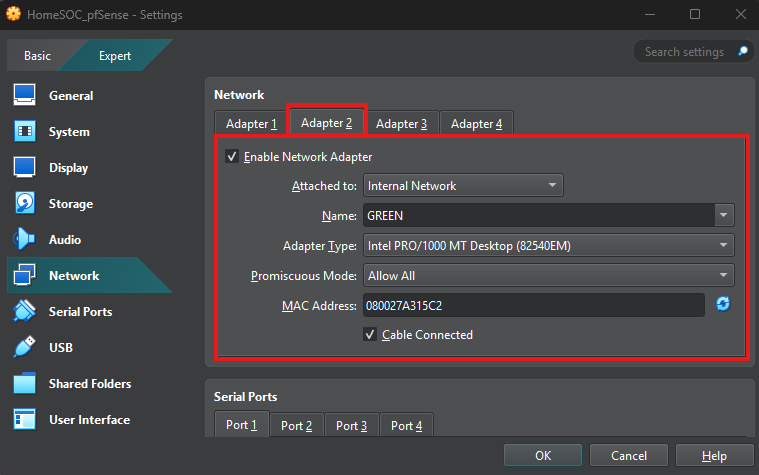
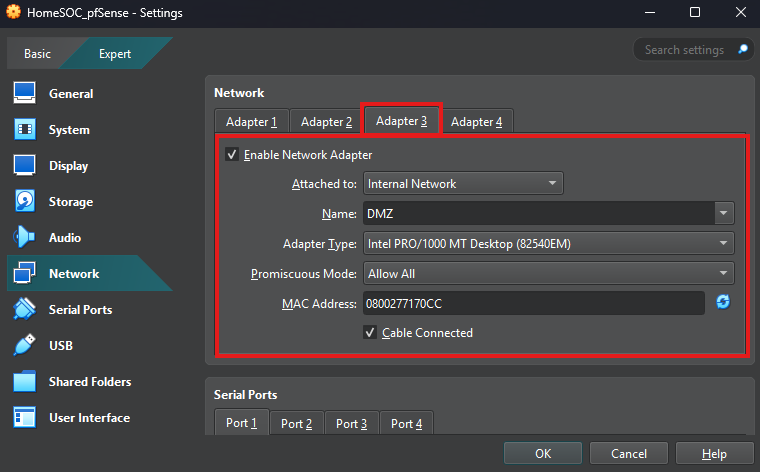
Step 3: Network Settings
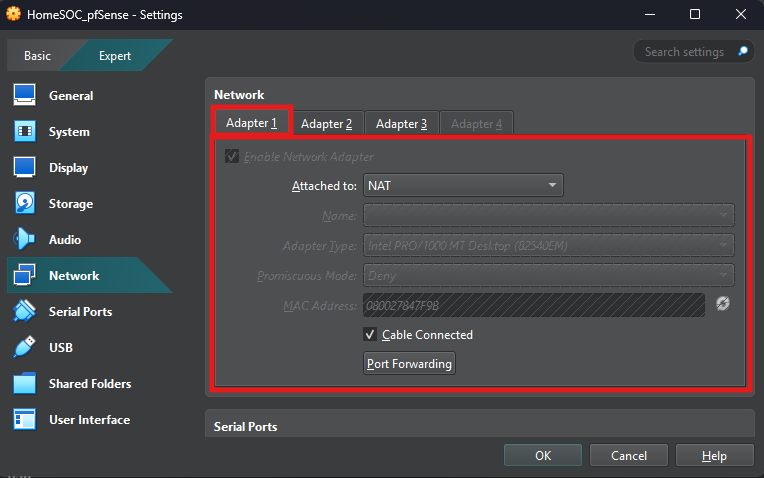
Select the pfSense VM’s settings and then network
In Network settings configure the following
Make sure to document the MAC Address for each Adapter for later reference
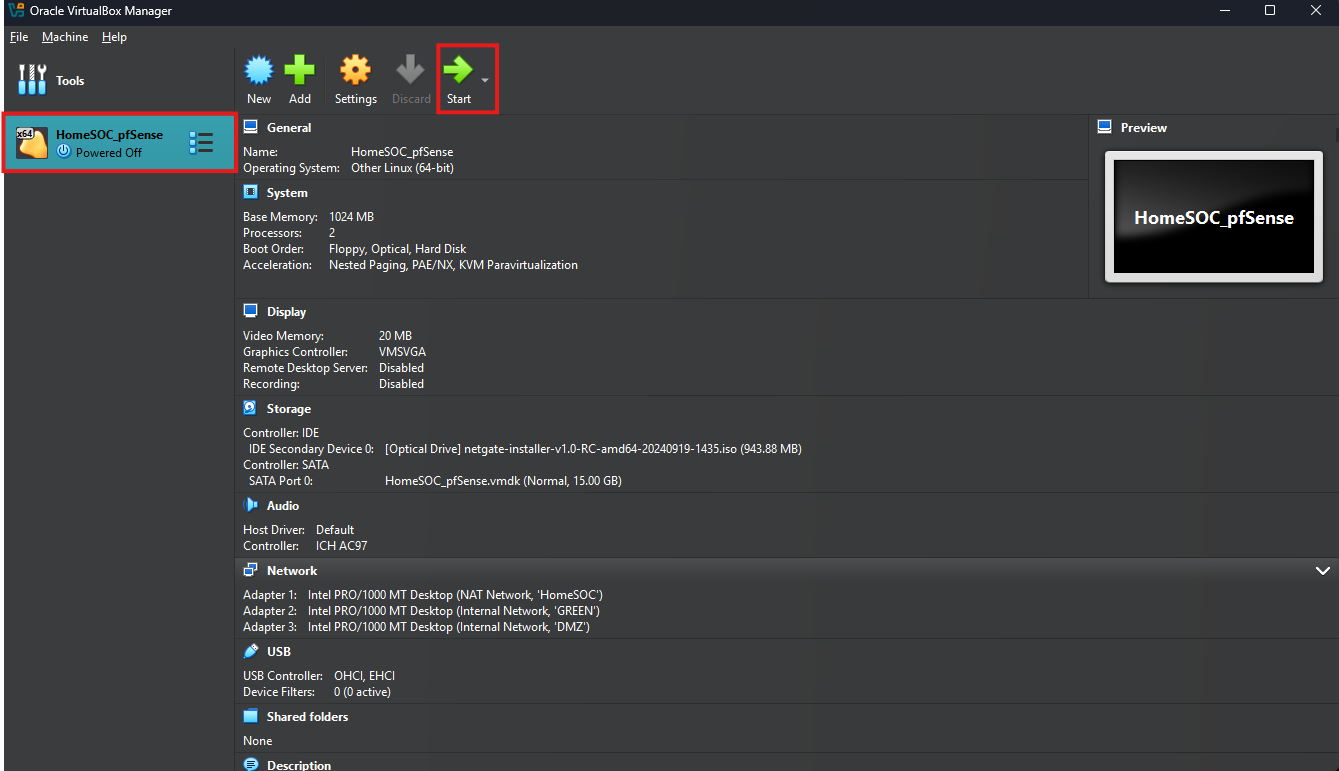
Step 4: Installing pfSense on VM
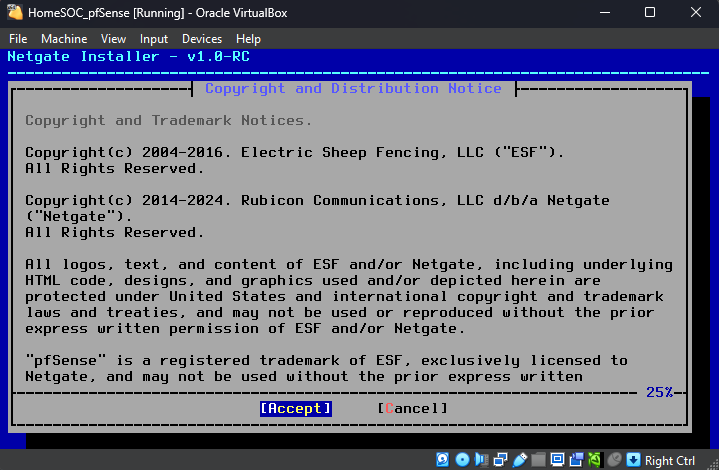
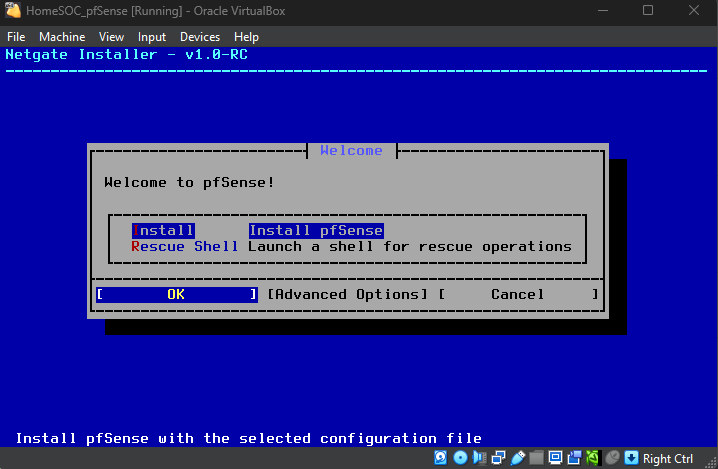
Launch the pfSense VM
Accept Copyright and Trademark Notice
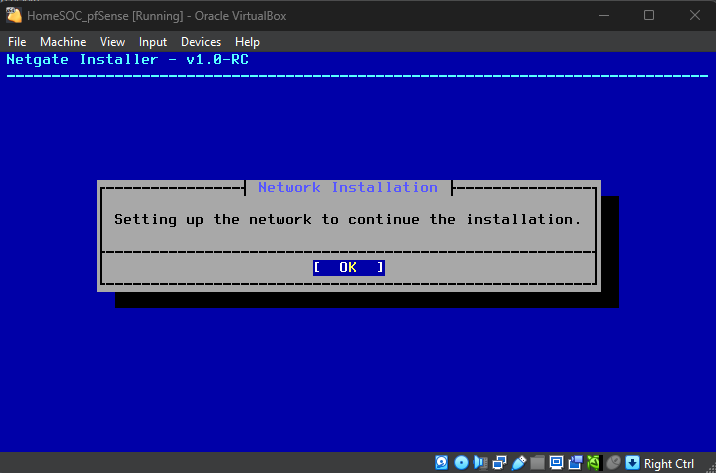
Proceed with pfSense installation
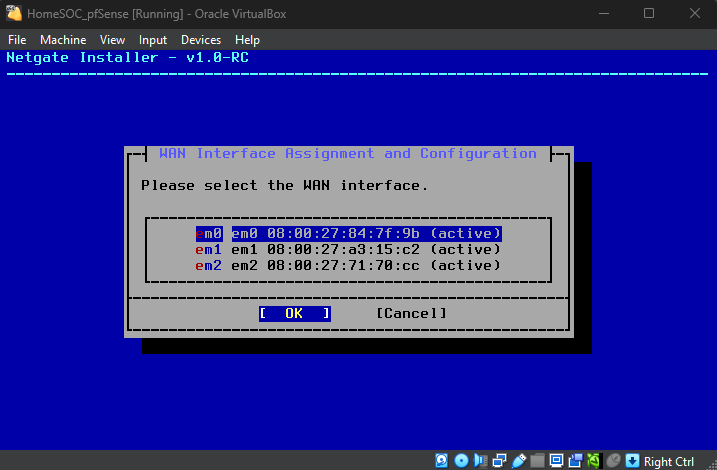
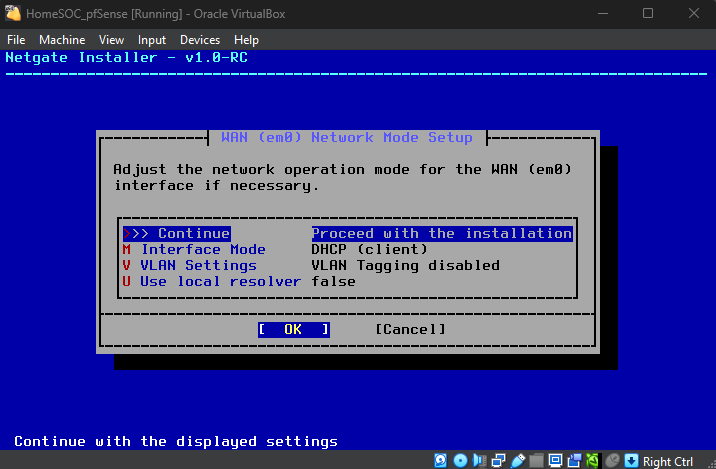
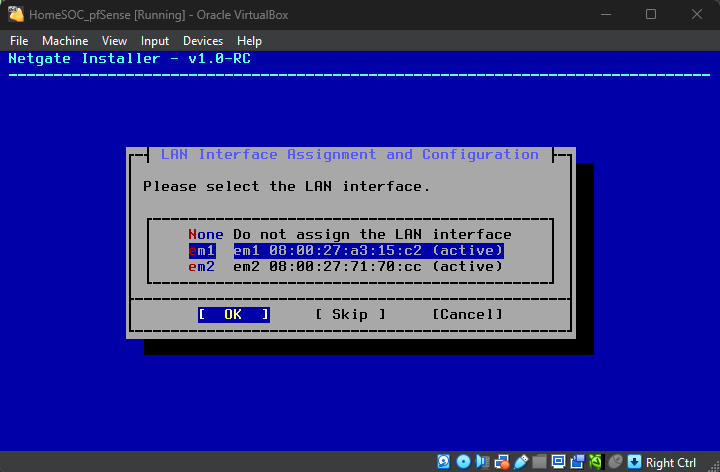
Verify MAC Addresses
WAN Interface will be left as DHCP
LAN Interface will be the “GREEN” Network Adapter
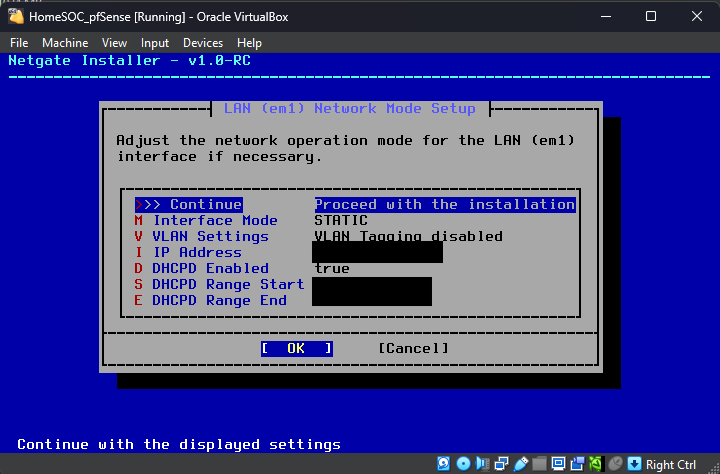
Assign a Static IP for the LAN Interface
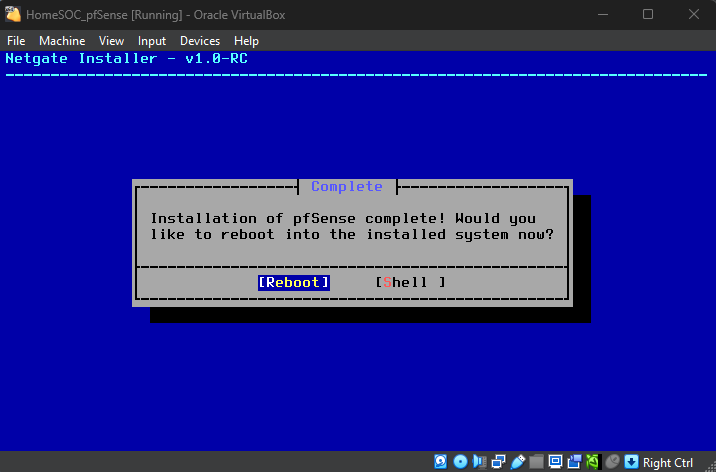
Once install completes reboot the VM
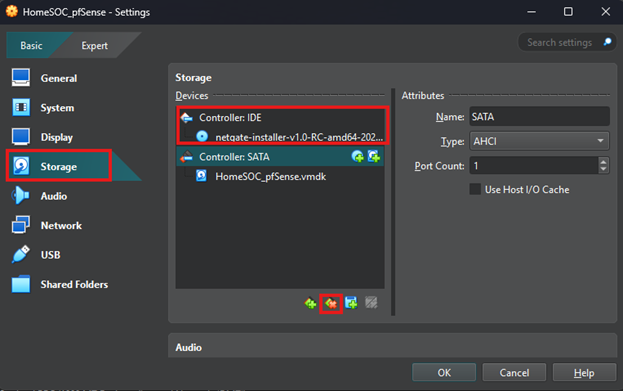
If VM gets stuck in installation reboot cycle go into the VM’s setting and Storage, then remove the Controller: IDE
Step 5: pfSense Network Configuration
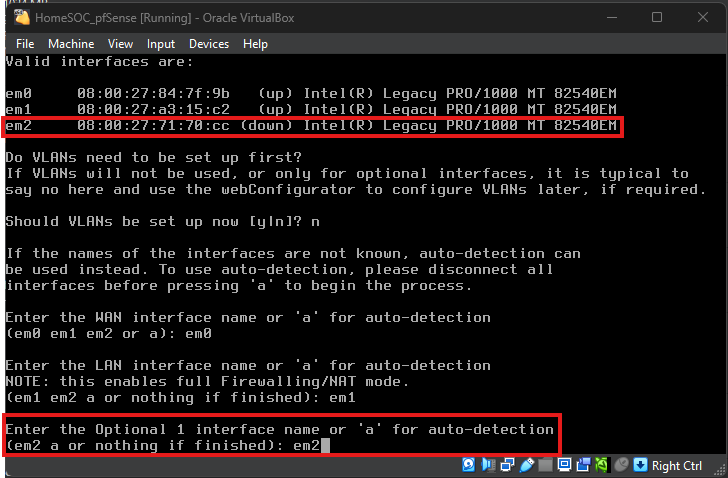
In pfSense main menu select Option 1
Verify WAN/LAN is set to the correct MAC Addresses, then assign DMZ Adapter to Optional 1 Interface
Then confirm the choices
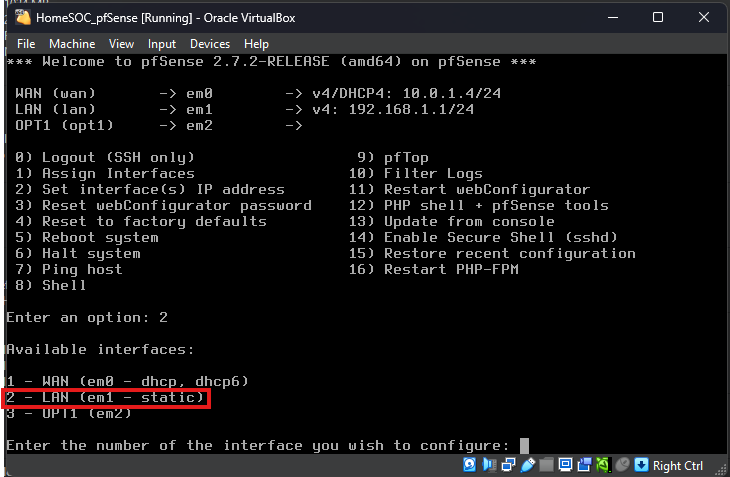
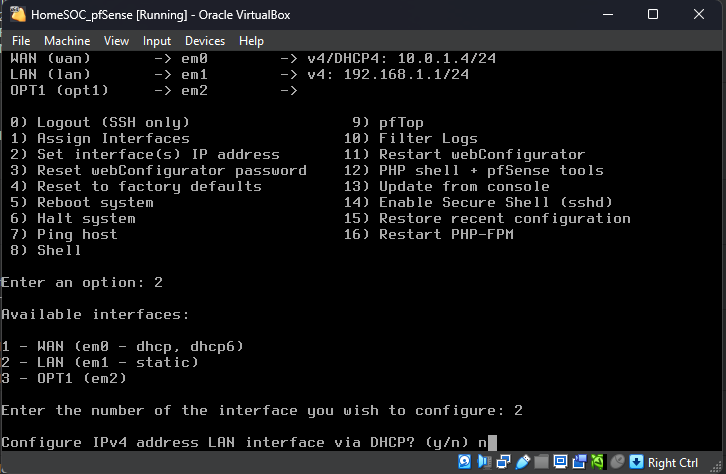
Next, configure LAN IP and Subnet (leave gateway as none)
.png)